whistle-switch
Version:
Control Homekit by whistling 🎶
92 lines (60 loc) • 3.9 kB
Markdown
# The Whistle Switch
Control Homekit by whistling 🎶
I built this during my batch at [the Recurse Center](https://www.recurse.com/) in 2021.
I whistle a lot, and I wanted to put it to some constructive use!
## Setup
The easiest way to install the switch is with `yarn` or `npm`.
```sh
$ yarn global add whistle-switch
```
If you install it globally, then you can run it from wherever.
```sh
$ whistle-switch
```
#### Raspberry PI
If you want to run `whistle-switch` on a Raspberry PI you need to tell it where to find Chromium, because the version from NPM doesn't work the PI's ARM processor.
```sh
WHISTLE_SWITCH_CHROME_EXECUTABLE_PATH=$(which chromium-browser) whistle-switch
```
For more info, check out [my post on running headless chrome on a PI](https://colbyr.com/blog/chrome-ears-only).
### Connect with Homekit
Once the switch is running on your local network, you should be able to add it to Homekit on your iOS device.
<details><summary>Detailed Homekit Setup</summary>
| | |
| :--: | :--: |
|  | Select "More Options.." from the Add Accessory card. |
|  | Tap the accessort called "Whistle Switch ..." |
| 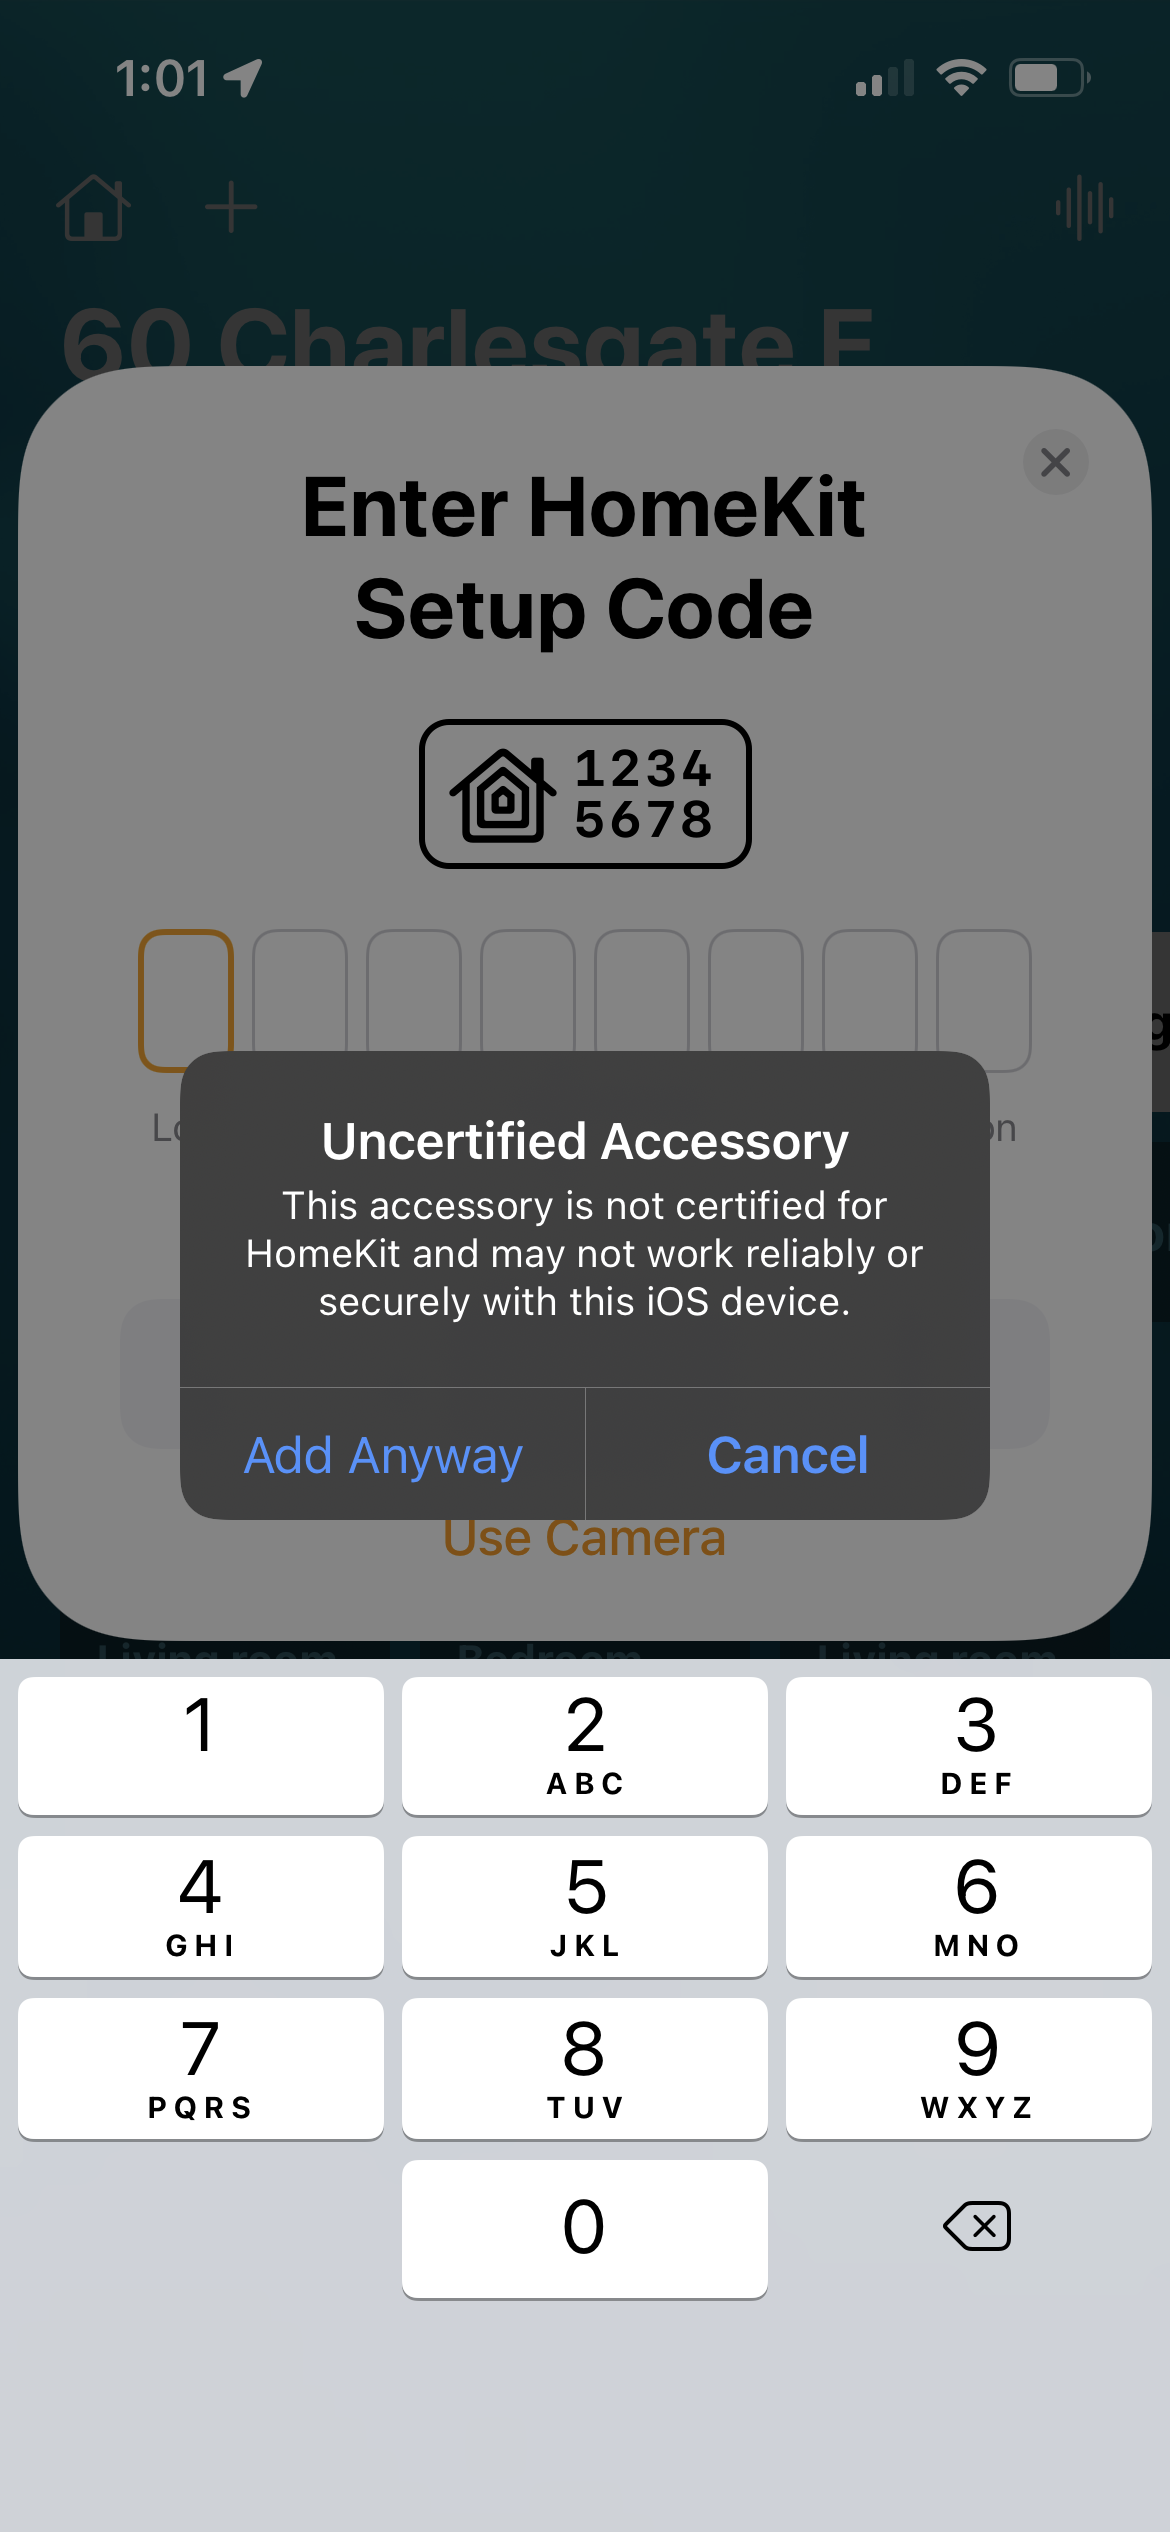 | Tap "Add Anyway" when you're prompted about an "uncertified" accessory. |
| 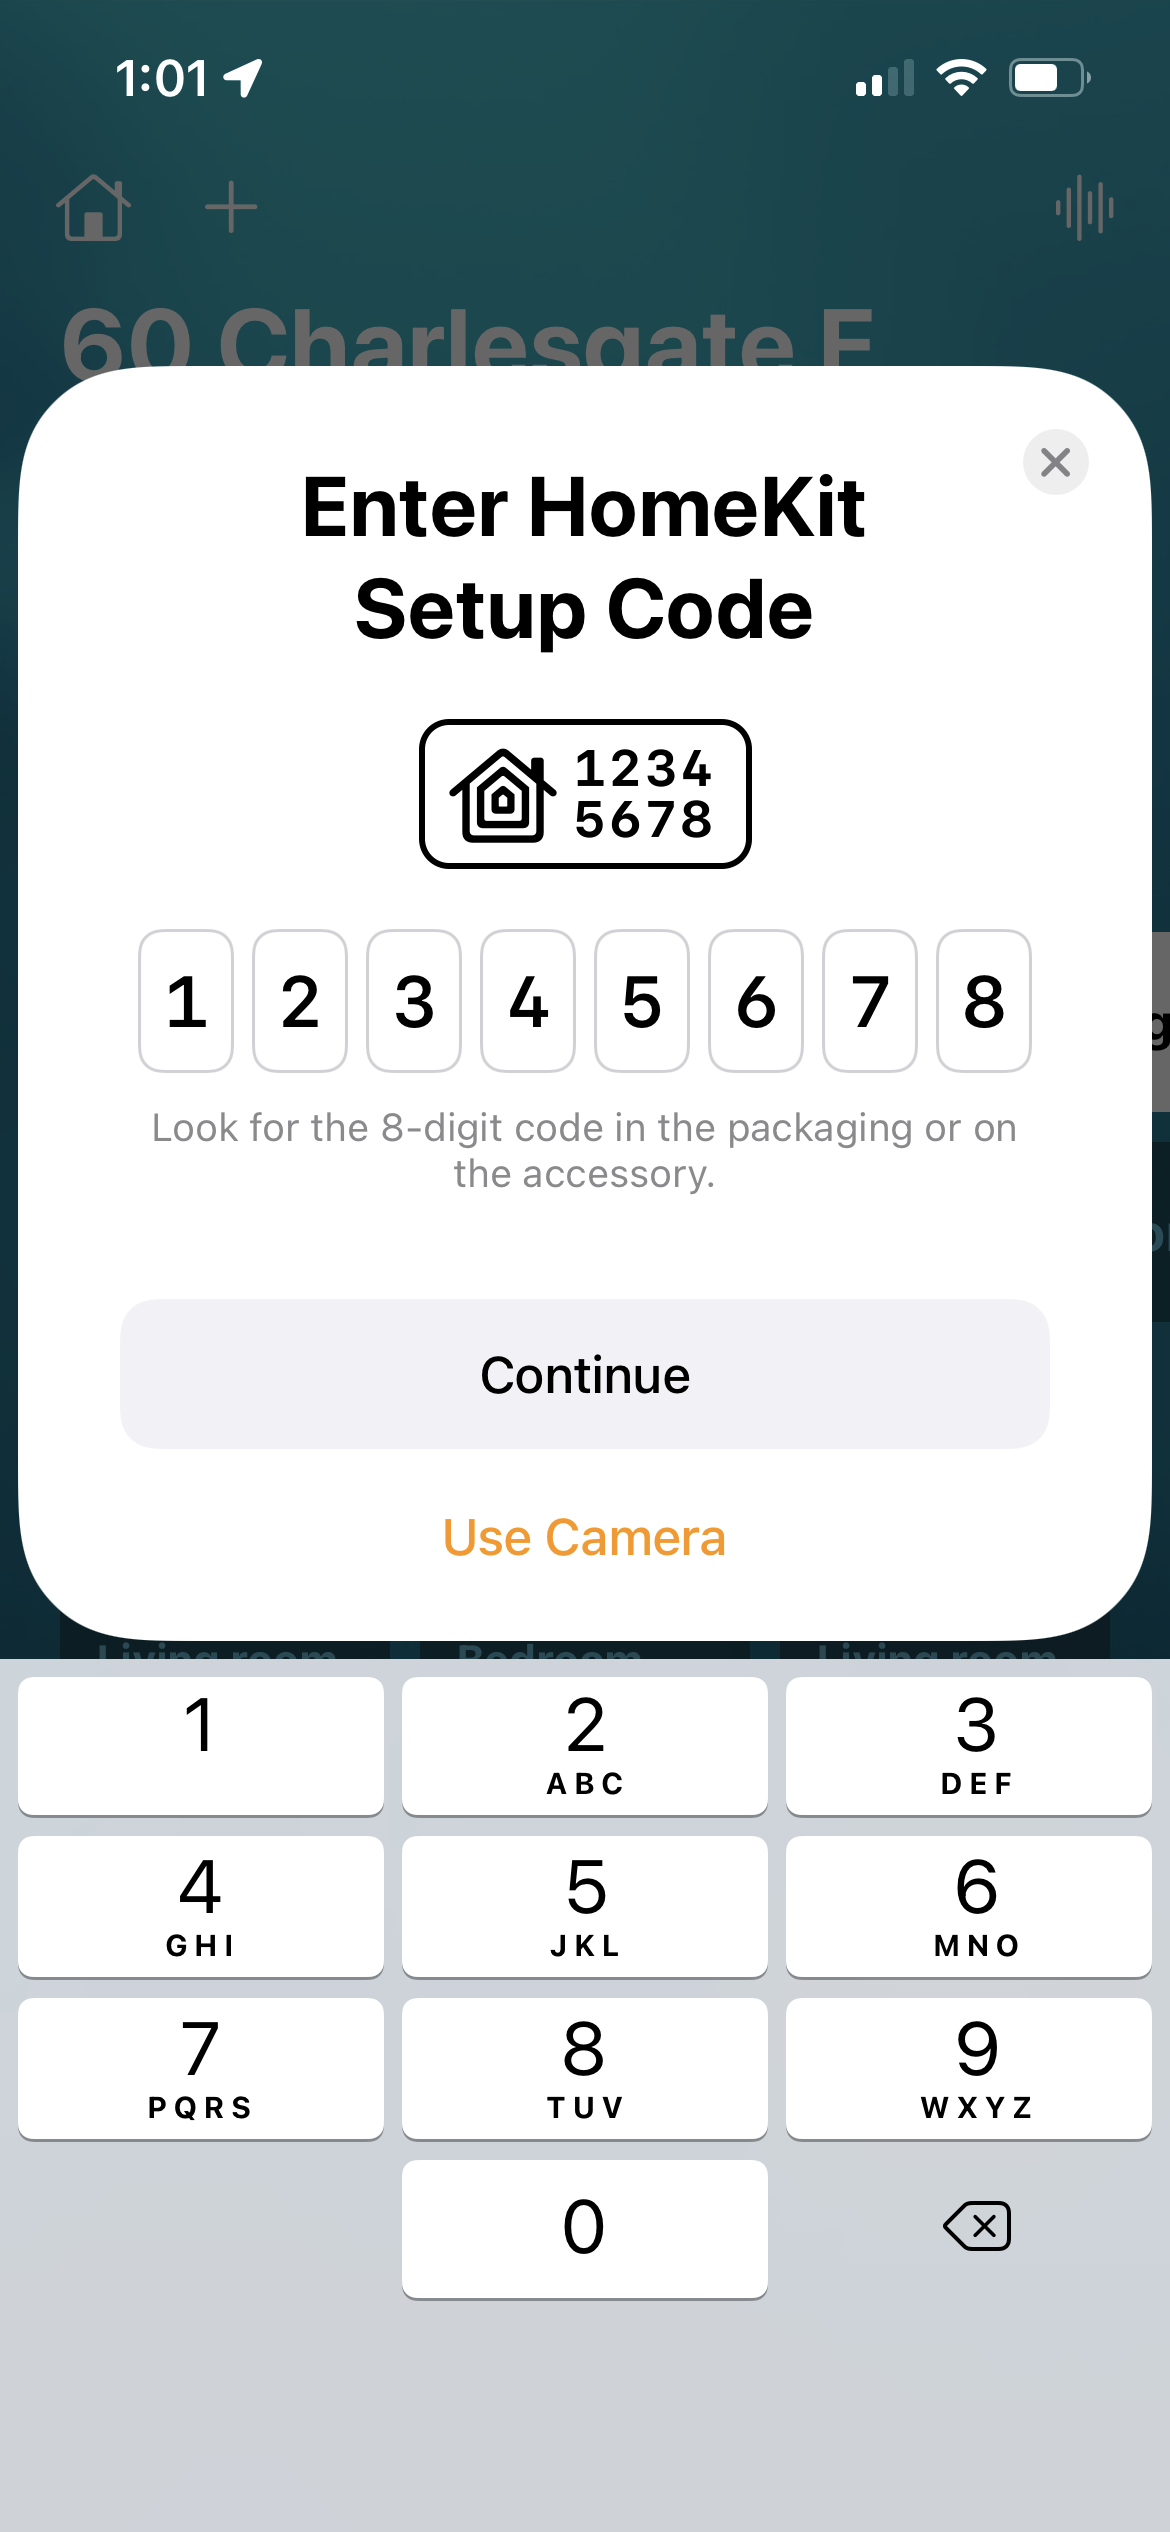 | The default setup code is "123-45-678", but you can change it to anything you want using the `WHISTLE_SWITCH_SETUP_CODE` environment variable. |
</details>
### Whistle "Buttons"
The switch has three built-in "buttons" that recognize different musical patterns.
It'll try to match patterns regardless of key or rhythm.
| Homekit Button | Pattern | Example |
| :--------------: | :-----------------: | :-------: |
| Button 1 | One Three Five | C E G |
| Button 2 | Five Three One | G E C |
| Button 3 | One Two One Two One | C D C D C |
#### Homekit "Button" Map
> Note: Right now, `whistle-switch` only triggers the "Single Press" action.
<img alt="Whistle Switch Homekit button map" src="https://user-images.githubusercontent.com/478109/149678710-190e7a8a-321d-4e9d-9a27-44347f552660.jpeg" height="500" />
## Advanced Configuration
You'll find the default configs in [controller.js](https://github.com/colbyr/whistle-switch/blob/694db8313b22180737626b05d5a4ffeeeb7542dc/src/controller.js#L10-L18).
The switch should work just fine with the defaults but you can override them by setting local environment variables.
| Environment Variable | Default |
| :-----------------------------------: | :----------------------: |
| WHISTLE_SWITCH_CHROME_EXECUTABLE_PATH | |
| WHISTLE_SWITCH_DEBUG | false |
| WHISTLE_SWITCH_ID | colbyr.whistle-switch.v1 |
| WHISTLE_SWITCH_LISTENER_PORT | 47130 |
| WHISTLE_SWITCH_PORT | 47130 |
| WHISTLE_SWITCH_SETUP_CODE | 123-45-678 |
| WHISTLE_SWITCH_USERNAME | 27:52:11:F5:BC:05 |
## Resetting the switch
If your whistle-switch gets into a bad state with your homekit setup, you can reset your install.
First off, change `WHISTLE_SWITCH_USERNAME` in your `.env` file to a new value.
Then remove the `persist` directory if it exists.
```sh
rm -rf persist
```
Start the switch again, and you should be able to connect to Homekit as a completely new accessory.