utquidem
Version:
The meta-framework suite designed from scratch for frontend-focused modern web development.
176 lines (133 loc) • 5.12 kB
Markdown
---
sidebar_position: 3
---
# 关于 Node 集成
页面在 Electron 中和在浏览器中的一个区别是:**Electron 窗口中可以使用 Node API**。
在 Electron 中的窗口,可自行决定是否开启 Node 集成。开启和不开启 Node 集成,在我们开发代码组织上有一点差异。当然也有各自的好处,我们推荐使用:**窗口中关闭 Node 集成**的形式进行开发,这种方式能够更安全,也是 Electron 主推的一种方式。
## 窗口中关闭 Node(推荐)
**关闭 Node**之后,我们可以通过 Electron 官方推荐的 `contextBridge.exposeInMainWorld`,将 Node 相关功能注入到页面中。
Electron 窗口的配置中存在一个 `preload` 配置,用于配置在页面加载之前需要加载的脚本。称作:**预加载脚本**。
:::info 补充信息
当我们关闭了窗口的 Node 配置时,我们不可以在页面中直接使用 Node 相关 API,但可以在**预加载脚本**中使用。
再通过 Electron 提供的 `contextBridge.exposeInMainWorld` 方式注入到 `window` 上。从而我们可以在页面中,通过这种方式使用 Node API。
:::
```ts title="预加载脚本"
// Preload (Isolated World)
const { contextBridge, ipcRenderer } = require('electron');
contextBridge.exposeInMainWorld(
'electron',
{
doThing: () => ipcRenderer.send('do-a-thing')
}
);
```
```js title="渲染进程"
// Renderer (Main World)
window.electron.doThing();
```
因此,框架也使用了这种方式来进行开发,具体流程如下:
- 预加载脚本中注册相关功能服务。
上面说到,Electron 官方示例中关于预加载脚本的使用。我们新建 `electron/preload` 目录,并新建:
```ts title='electron/preload/index.ts';
import {
exposeInMainWorld,
browserWindowPreloadApis,
} from '@modern-js/runtime/electron-render';
import { readFileSync } from 'fs';
export const apis = {
...browserWindowPreloadApis,
readFileSync: (path: string) => {
return fs.readFileSync(path);
},
};
exposeInMainWorld(apis);
```
上述代码中,我们在预加载脚本中定义了 `readFileSync` 方法,并通过 `exposeInMainWorld` 注册到了 `window` 上。我们可以在窗口打开的时候注入预加载脚本。
在这之前,我们可以新建一个 `index.dev.js`, 通过 Babel 编译解决 TS 或者一些语法编译问题:
```js title='index.dev.js'
const { join } = require('path');
const babel = require('@babel/register');
const { babelConfig } = require('@modern-js/electron-tools');
babel(
Object.assign(babelConfig, {
extensions: ['.ts', '.js'],
}),
);
require(join(__dirname, 'index.ts'));
```
然后,我们在窗口配置中,增加预加载脚本文件地址:
```ts title='electron/main.ts'
// preload js for browserwindow to provide native apis for render-process
const PRELOAD_JS = join(
__dirname,
'preload',
process.env.NODE_ENV === 'development' ? 'index.dev.js' : 'index.js',
);
const runtime = new Runtime({
windowsConfig: [{
name: 'main',
options: {
webPreferences: {
preload: PRELOAD_JS,
},
},
}],
mainServices: services
});
```
- 渲染进程中使用服务。
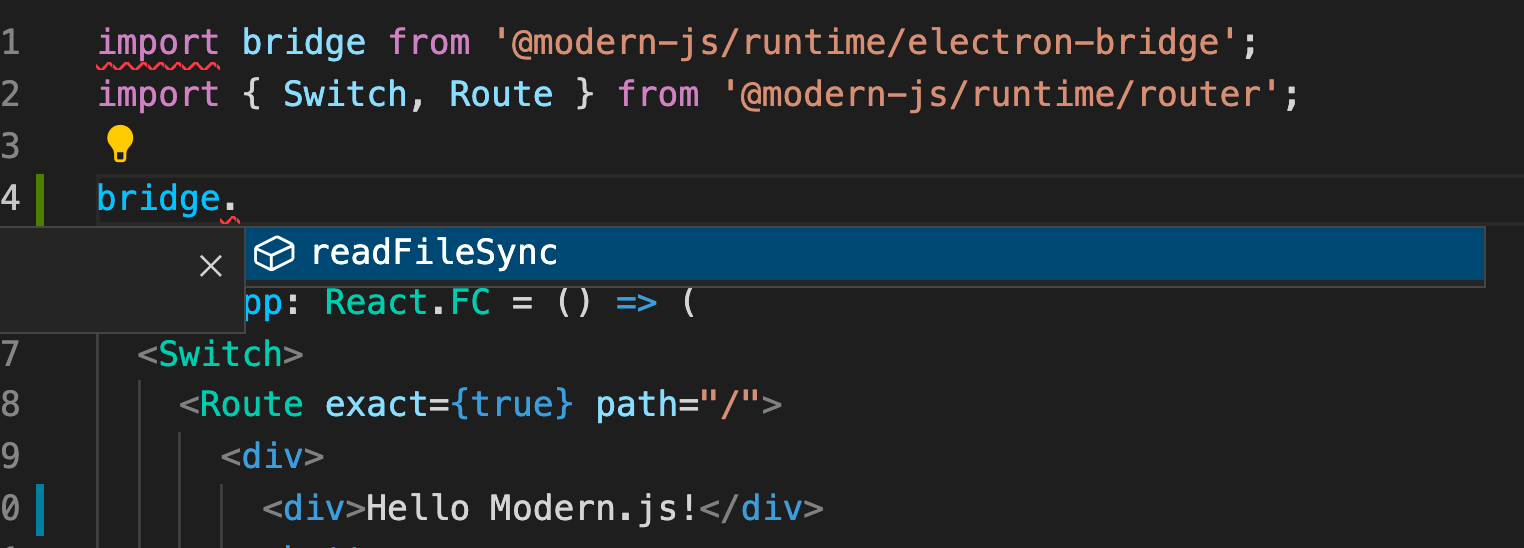
我们通过预加载脚本注入了服务之后,可以通过如下方式在渲染进程中访问:
`import bridge from '@modern-js/runtime/electron-bridge';`。
但这样,我们需要有类型提示,因此可以新建类型提示文件:
```ts title='typings/index.d.ts'
declare module '@modern-js/electron-runtime' {
export type BrowserWindowApis = typeof import('../electron/preload').apis;
}
```
并在项目根目录`tsconfig.json`中配置 `"types": ["./typings"]`:
```json
{
"compilerOptions": {
...
"types": ["./typings"]
},
...
}
```
即可:
## 窗口中开启 Node
:::tip 提示
**启用 Node** 后,我们可以在其加载的页面上直接使用 Node 相关 API,比如:Node 能力,Electron 原生 API。
:::
- 窗口开启 Node。
在前面讲解到的窗口配置中,增加:`nodeIntegration: true`, 开启 Node 环境。
```ts
export const windowsConfig: WindowConfig[] = [
{
name: 'main',
options: {
webPreferences: {
nodeIntegration: true,
...
},
},
},
]
```
- 渲染进程支持 Node API。
`dev` 启动命令增加: `modern dev electron-web`,从而在 [webpack-dev-server](https://github.com/webpack/webpack-dev-server) 编译的时候,增加相应 Webpack 配置。
从而可以使用 Node。
```ts
// package.json#scripts
"dev:render": "modern dev electron-web"
```
- 渲染进程中直接使用 Node API。
```ts title="xx/xx.tsx"
import * as fs from 'fs';
...
fs.readFileSync('xx/xxx.txt');
```
:::warning 警告
使用这种模式,必须**开启窗口的 Node **能力。
:::