sparkar-pftween
Version:
Spark AR library for tweening animation.
396 lines (260 loc) • 13.3 kB
Markdown
# PFTween
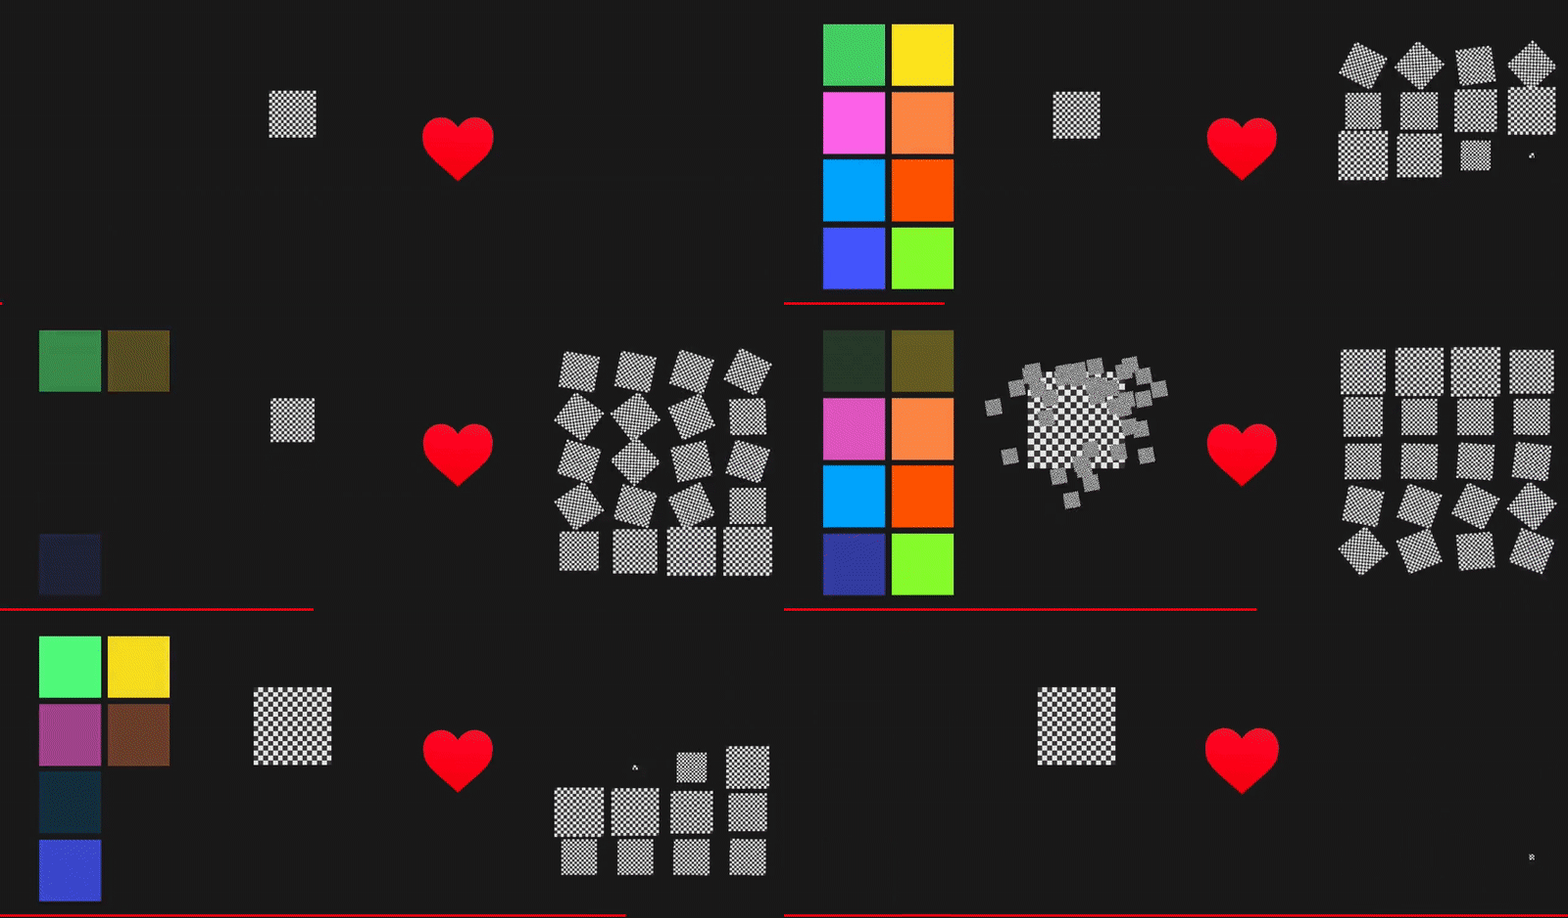
**PFTween** is a Spark AR library for tweening animation.
You can use the similar syntax to [DOTween](http://dotween.demigiant.com) to create animation with JavaScript/TypeScript in Spark AR.
## Table of Contents
- [Install](#install)
- [Usage](#usage)
- [Getting Started](#getting-started)
- [Reuse the Animation](#reuse-the-animation)
- [Play Animations in Sequence](#play-animations-in-sequence)
- [Play Animation with Progress](#play-animation-with-progress)
- [Stop Animation](#stop-animation)
- [Donations](#donations)
## Install
[](https://www.npmjs.com/package/sparkar-pftween)
You can download script and import it into your Spark AR project, or use this with npm.
0. [Download PFTween.ts](https://github.com/pofulu/sparkar-pftween/releases/latest/download/PFTween.ts)
1. Drag/Import it into your project. ([Spark AR support TypeScript since v105](https://sparkar.facebook.com/ar-studio/learn/scripting/typescript-support))
2. Import `Ease` and `PFTween` module at the top of your script.
```javascript
import { Ease, PFTween } from './PFTween';
```
3. You can also [Click Here to Download Sample Project (v118)](https://github.com/pofulu/sparkar-pftween/releases/latest/download/PFTweenDemo.arprojpkg).
## Usage
There are four ways to create animation with PFTween.
### 1. Basic - Simple and Easy
Create and use animation at once. [Learn more](#getting-started)
```typescript
plane0.transform.x = new PFTween(-0.2, 0.2, 1000).scalar;
```
### 2. Reusable - Better Performance
Create and reuse/control it latter. [Learn more](#reuse-the-animation)
```typescript
const animation = new PFTween(-0.2, 0.2, 1000)
.onStart(v => plane0.transform.x = v.scalar)
.build(false);
animation.replay();
```
### 3. Clip - Awaitable Animation
Create animation and you can await the them to complete. [Learn more](#play-animations-in-sequence)
```typescript
const clip = new PFTween(-0.2, 0.2, 1000).clip;
Diagnostics.log('start');
await clip();
Diagnostics.log('complete');
```
### 4. Progress - Control Animation with Progress 0-1
Create then play tweens with progress you like. [Learn more](#play-animation-with-progress)
```typescript
const animation = new PFTween(0, 6, 1000).progress;
progress.setProgress(0) // 0
progress.setProgress(0.5) // 3
progress.setProgress(1) // 6
```
## Getting Started
Let's create an animation, the value is from `0` to `1` in `1000` milliseconds, and output type is [`ScalarSignal`](https://sparkar.facebook.com/ar-studio/learn/reference/classes/reactivemodule.scalarsignal).
```js
new PFTween(0, 1, 1000).scalar;
```
You can set it to other [`ScalarSignal`](https://sparkar.facebook.com/ar-studio/learn/reference/classes/reactivemodule.scalarsignal). E.g. position **x**, material's **opacity**, send to **PatchEditor**, etc.
```js
const plane0 = await Scene.root.findFirst('plane0');
plane0.transform.x = new PFTween(0, 1, 1000).scalar;
```
You can also set the output to more value type as needed: [`.scalar`](https://sparkar.facebook.com/ar-studio/learn/reference/classes/reactivemodule.scalarsignal), [`.pack2`](https://sparkar.facebook.com/ar-studio/learn/reference/classes/reactivemodule.point2dsignal), [`.pack3`](https://sparkar.facebook.com/ar-studio/learn/reference/classes/reactivemodule.pointsignal), [`.pack4`](https://sparkar.facebook.com/ar-studio/learn/reference/classes/reactivemodule.point4dsignal), [`.deg2rad`](https://www.google.com/search?client=safari&rls=en&q=deg+to+rad&ie=UTF-8&oe=UTF-8), [`.swizzle()`](https://github.com/Spark-AR-Community/SparkAR-Snippets/tree/master/Swizzle), [`.rgba`](https://sparkar.facebook.com/ar-studio/learn/reference/classes/reactivemodule.rgbasignal), [`.patch()`](https://sparkar.facebook.com/ar-studio/learn/patch-editor/bridging).
```js
plane0.transform.scale = new PFTween(0, 1, 1000).pack3;
plane0.transform.rotationZ = new PFTween(0, 360, 1000).deg2rad;
plane0.transform.position = new PFTween(-1, 1, 1000).swizzle('xx0');
```
The default movement is linear, you can change it by chain [`setEase()`](https://easings.net) function.
```js
new PFTween(0, 1, 1000)
.setEase(Ease.easeInOutSine) // Remeber to import Ease
.scalar;
```
And you can add more function to modify this animation. E.g. Make it mirror loop 10 times.
```js
new PFTween(0, 1, 1000)
.setLoops(10)
.setMirror()
.setEase(Ease.easeInOutSine)
.scalar;
```
### Events
There are some events in animation, you can add callback to them using the function named `onXXX`.
```js
new PFTween(0, 1, 1000)
.onStart(tweener => {}) // When start, with tweener
.onComplete(() => {) // When animation stop
.onLoop(iteration => {}) // When loop, with iteration
.onUpdate(value => {}) // When tween value changed, with number or number[]
```
There are also some useful function that can save you time.
```js
const plane0 = await Scene.root.findFirst('plane0');
const material0 = await Materials.findFirst('material0');
new PFTween(0, 1, 1000)
.setDelay(1000) // Delay 1000 milliseconds to start
.onStartVisible(plane0)
.onStartHidden(plane0)
.onCompleteVisible(plane0)
.onCompleteHidden(plane0)
.onCompleteResetPosition(plane0)
.onCompleteResetRotation(plane0)
.onCompleteResetScale(plane0)
.onCompleteResetOpacity(material0)
.onAnimatingVisibleOnly(plane0)
.build()
```
### Array of numbers
The **from** and **to** can be `number` or `number[]`. When you use `number[]` make sure the two array have the same length.
```js
new PFTween([0, 0], [1, 2], 1000); // O
new PFTween([0, 0, 0], [1, 2], 1000); // X
```
Notice that the output of `number` and `number[]` are somewhat different.
```js
new PFTween([0, 0], [1, 2], 1000).scalar; // final: 1
new PFTween([0, 0], [1, 2], 1000).pack2; // final: {x:1 ,y:2}
new PFTween([0, 0], [1, 2], 1000).pack3; // final: {x:1 ,y:2, z:0}
new PFTween(0, 1, 1000).scalar; // final: 1
new PFTween(0, 1, 1000).pack2; // final: {x:1 ,y:1}
new PFTween(0, 1, 1000).pack3; // final: {x:1 ,y:1, z:1}
```
You can also pass the `ScalarSignal`, `Point2DSignal`, `PointSignal`, `Point4DSignal`. These values will be converted to `number` or `number[]` when you create animation.
```js
new PFTween(plane0.transform.x, 1, 1000);
new PFTween(plane0.transform.scale, [0, 0, 0], 1000);
```
## Reuse the Animation
Everytime you call `new PFTween()` will create a new animation object. Sometimes, it's not neccesary to create a new animation, you can reuse it for better performance. (However, in generally, user don't notice the performance impact as well)
E.g., you need to punch a image every time user open their mouth:
```javascript
const onMouthOpen = FaceTracking.face(0).mouth.openness.gt(0.2).onOn();
onMouthOpen.subscribe(play_punch_animation);
function play_punch_animation(){
plane0.transform.scale = new PFTween(1, 0.3, 1000).setEase(Ease.punch).pack3;
}
```
It works, but you don't need to create a new animation every time you play.
Use `onStart()` to set the value and call `build()` at the end of `PFTween` chain. It will return a `PFTweener`, a controller for `PFTween` object. You can call `replay`, `reverse`, `start`, `stop` or get `isRunning`.
```javascript
const onMouthOpen = FaceTracking.face(0).mouth.openness.gt(0.2).onOn();
const play_punch_animation = new PFTween(1, 0.3, 1000)
.setEase(Ease.punch)
.onStart(tweener => plane0.transform.scale = tweener.pack3)
.build(false); // The 'false' means don't play animation when build. Default is 'true'.
onMouthOpen.subscribe(() => play_punch_animation.replay());
```
`PFTweener` is actually a wrapped [`AnimationModule.TimeDriver`](https://sparkar.facebook.com/ar-studio/learn/documentation/reference/classes/animationmodule.timedriver), so you can find the similar APIs from the official document.
## Play Animations in Sequence
**`.clip`** is an asynchronous way to reuse animation based on `Promise`. With `clip`, you can play tween animation in sequence.
E.g., `jump().then(scale).then(rotate).then(fadeout).then(......`
In order to use `clip`, you must set the value with `onStart()`, and get `clip` instead of call `build()` at the end of `PFTween` chain.
When you get `clip`, it returns a [Promise](https://developer.mozilla.org/docs/Web/JavaScript/Guide/Using_promises). If you want to play the clip, just call `clip()`.
```js
const clip1 = new PFTween(0, 1, 500).clip;
const clip2 = new PFTween(1, 2, 500).clip;
const clip3 = new PFTween(2, 3, 500).clip;
clip1().then(clip2).then(clip3);
```
In addition to manually play multiple clips using `then()`, you can also use **`PFTween.concat()`** to concatenate them into one `clip`.
```js
const clip1 = new PFTween(0, 1, 500).clip;
const clip2 = new PFTween(1, 2, 500).clip;
const clip3 = new PFTween(2, 3, 500).clip;
const animations = PFTween.concat(clip1, clip2, clip3);
animations();
```
If you want to start multiple clips at the same time, you can use **`PFTween.combine()`** to combine multiple clips in to one `clip`.
```js
const clip1 = new PFTween(0, 1, 500).clip;
const clip2 = new PFTween(1, 2, 500).clip;
const clip3 = new PFTween(2, 3, 500).clip;
const animations = PFTween.combine(clip1, clip2, clip3);
animations();
```
## Play Animation with Progress
**`.progress`** is based on [`Animation.ValueDriver`](https://sparkar.facebook.com/ar-studio/learn/reference/classes/animationmodule.valuedriver), you can control it with progress you like. The progress value is clamped in 0-1.
The `onComplete`, `onStart`, `onLoop` and their related won't work, so you have to use **`onUpdate()`** to set values.
```js
const animation = new PFTween(-0.1, 0.1, 500).onUpdate(v => plane0.transform.x = v).progress;
animation.setProgress(0); // plane0.transform.x = -0.1
animation.setProgress(0.5); // plane0.transform.x = 0
animation.setProgress(1); // plane0.transform.x = 0.1
// or you can pass a ScalarSignal
animation.setProgress(new PFTween(0, 1, 1000).scalar);
```
You can use `combineProgress` and `concatProgress` to merge multiple progress.
```typescript
import { PFTween } from './PFTween';
import Scene from 'Scene';
import Diagnostics from 'Diagnostics';
(async () => {
const plane0 = await Scene.root.findFirst('plane0');
const p1 = new PFTween(0, 0.2, 500).onUpdate(v => plane0.transform.x = v).progress;
const p2 = new PFTween(0, 0.1, 500).onUpdate(v => plane0.transform.y = v).progress;
const p3 = new PFTween(0.2, 0, 500).onUpdate(v => plane0.transform.x = v).progress;
// The "combineProgress" and "concatProgress" are static functions
const combine = PFTween.combineProgress(p1, p2);
const animation = PFTween.concatProgress(combine, p3);
})();
```
## Stop Animation
There are three ways to create animation with PFTween.
### 1. With Reusable Tween
If your animation is made with `.build()`, it's will return a controller. You can stop the animation with controller's `stop()` function.
```typescript
import { PFTween } from './PFTween';
import Scene from 'Scene';
import TouchGestures from 'TouchGestures';
(async () => {
const plane0 = await Scene.root.findFirst('plane0');
const controller = new PFTween(0, 1, 1000)
.setLoops(true)
.setId('foo')
.onStart(v => plane0.transform.x = v.scalar)
.build();
TouchGestures.onTap().subscribe(() => {
controller.stop();
});
})();
```
### 2. Set ID
You can add `.setId("id")` to any of your tween, and then use the static function `PFTween.kill("id")` to kill and stop the animation. Please note that if you kill the animation, all of the events will be removed. (i.e. The animation you killed can't be reused)
```typescript
import { PFTween } from './PFTween';
import Scene from 'Scene';
import TouchGestures from 'TouchGestures';
(async () => {
const plane0 = await Scene.root.findFirst('plane0');
plane0.transform.x = new PFTween(0, 1, 1000).setLoops(true).setId('foo').scalar;
TouchGestures.onTap().subscribe(() => PFTween.kill('foo'));
})();
```
If your animation is created with basic way such `.scalar`, `.pack2`, `.pack3`...... The animation will be auto killed after complete.
### 3. Clip Cancellation
If you animation is made with `.clip`, you can create a cancellationa and pass it when you play the clip.
```typescript
import { PFTween } from './PFTween';
import Scene from 'Scene';
import TouchGestures from 'TouchGestures';
(async () => {
const plane0 = await Scene.root.findFirst('plane0');
// PFTween.newCancellation is static function
const cancellation = PFTween.newClipCancellation();
new PFTween(0, 1, 1000)
.setLoops(true)
.onStart(v => plane0.transform.x = v.scalar)
.clip(cancellation);
TouchGestures.onTap().subscribe(() => {
cancellation.cancel();
});
})();
```
Unlike `setId`/`kill`, canceled clips can be played again, and all events you added will remain.
## Donations
If this is useful for you, please consider a donation🙏🏼. One-time donations can be made with PayPal.
[](https://www.paypal.com/cgi-bin/webscr?cmd=_s-xclick&hosted_button_id=HW99ESSALJZ36)