sanity-plugin-r2-files
Version:
Store Sanity media files in Cloudflare R2 Bucket
132 lines (100 loc) • 5.15 kB
Markdown
## [`Sanity.io`](https://sanity.io) - [`Cloudflare R2`](https://www.cloudflare.com/de-de/developer-platform/r2/)
Allows uploading, referencing and deleting files to Cloudflare R2 directly from your Sanity studio. Is a flavor of [sanity-plugin-external-files](https://github.com/hdoro/sanity-plugin-external-files).
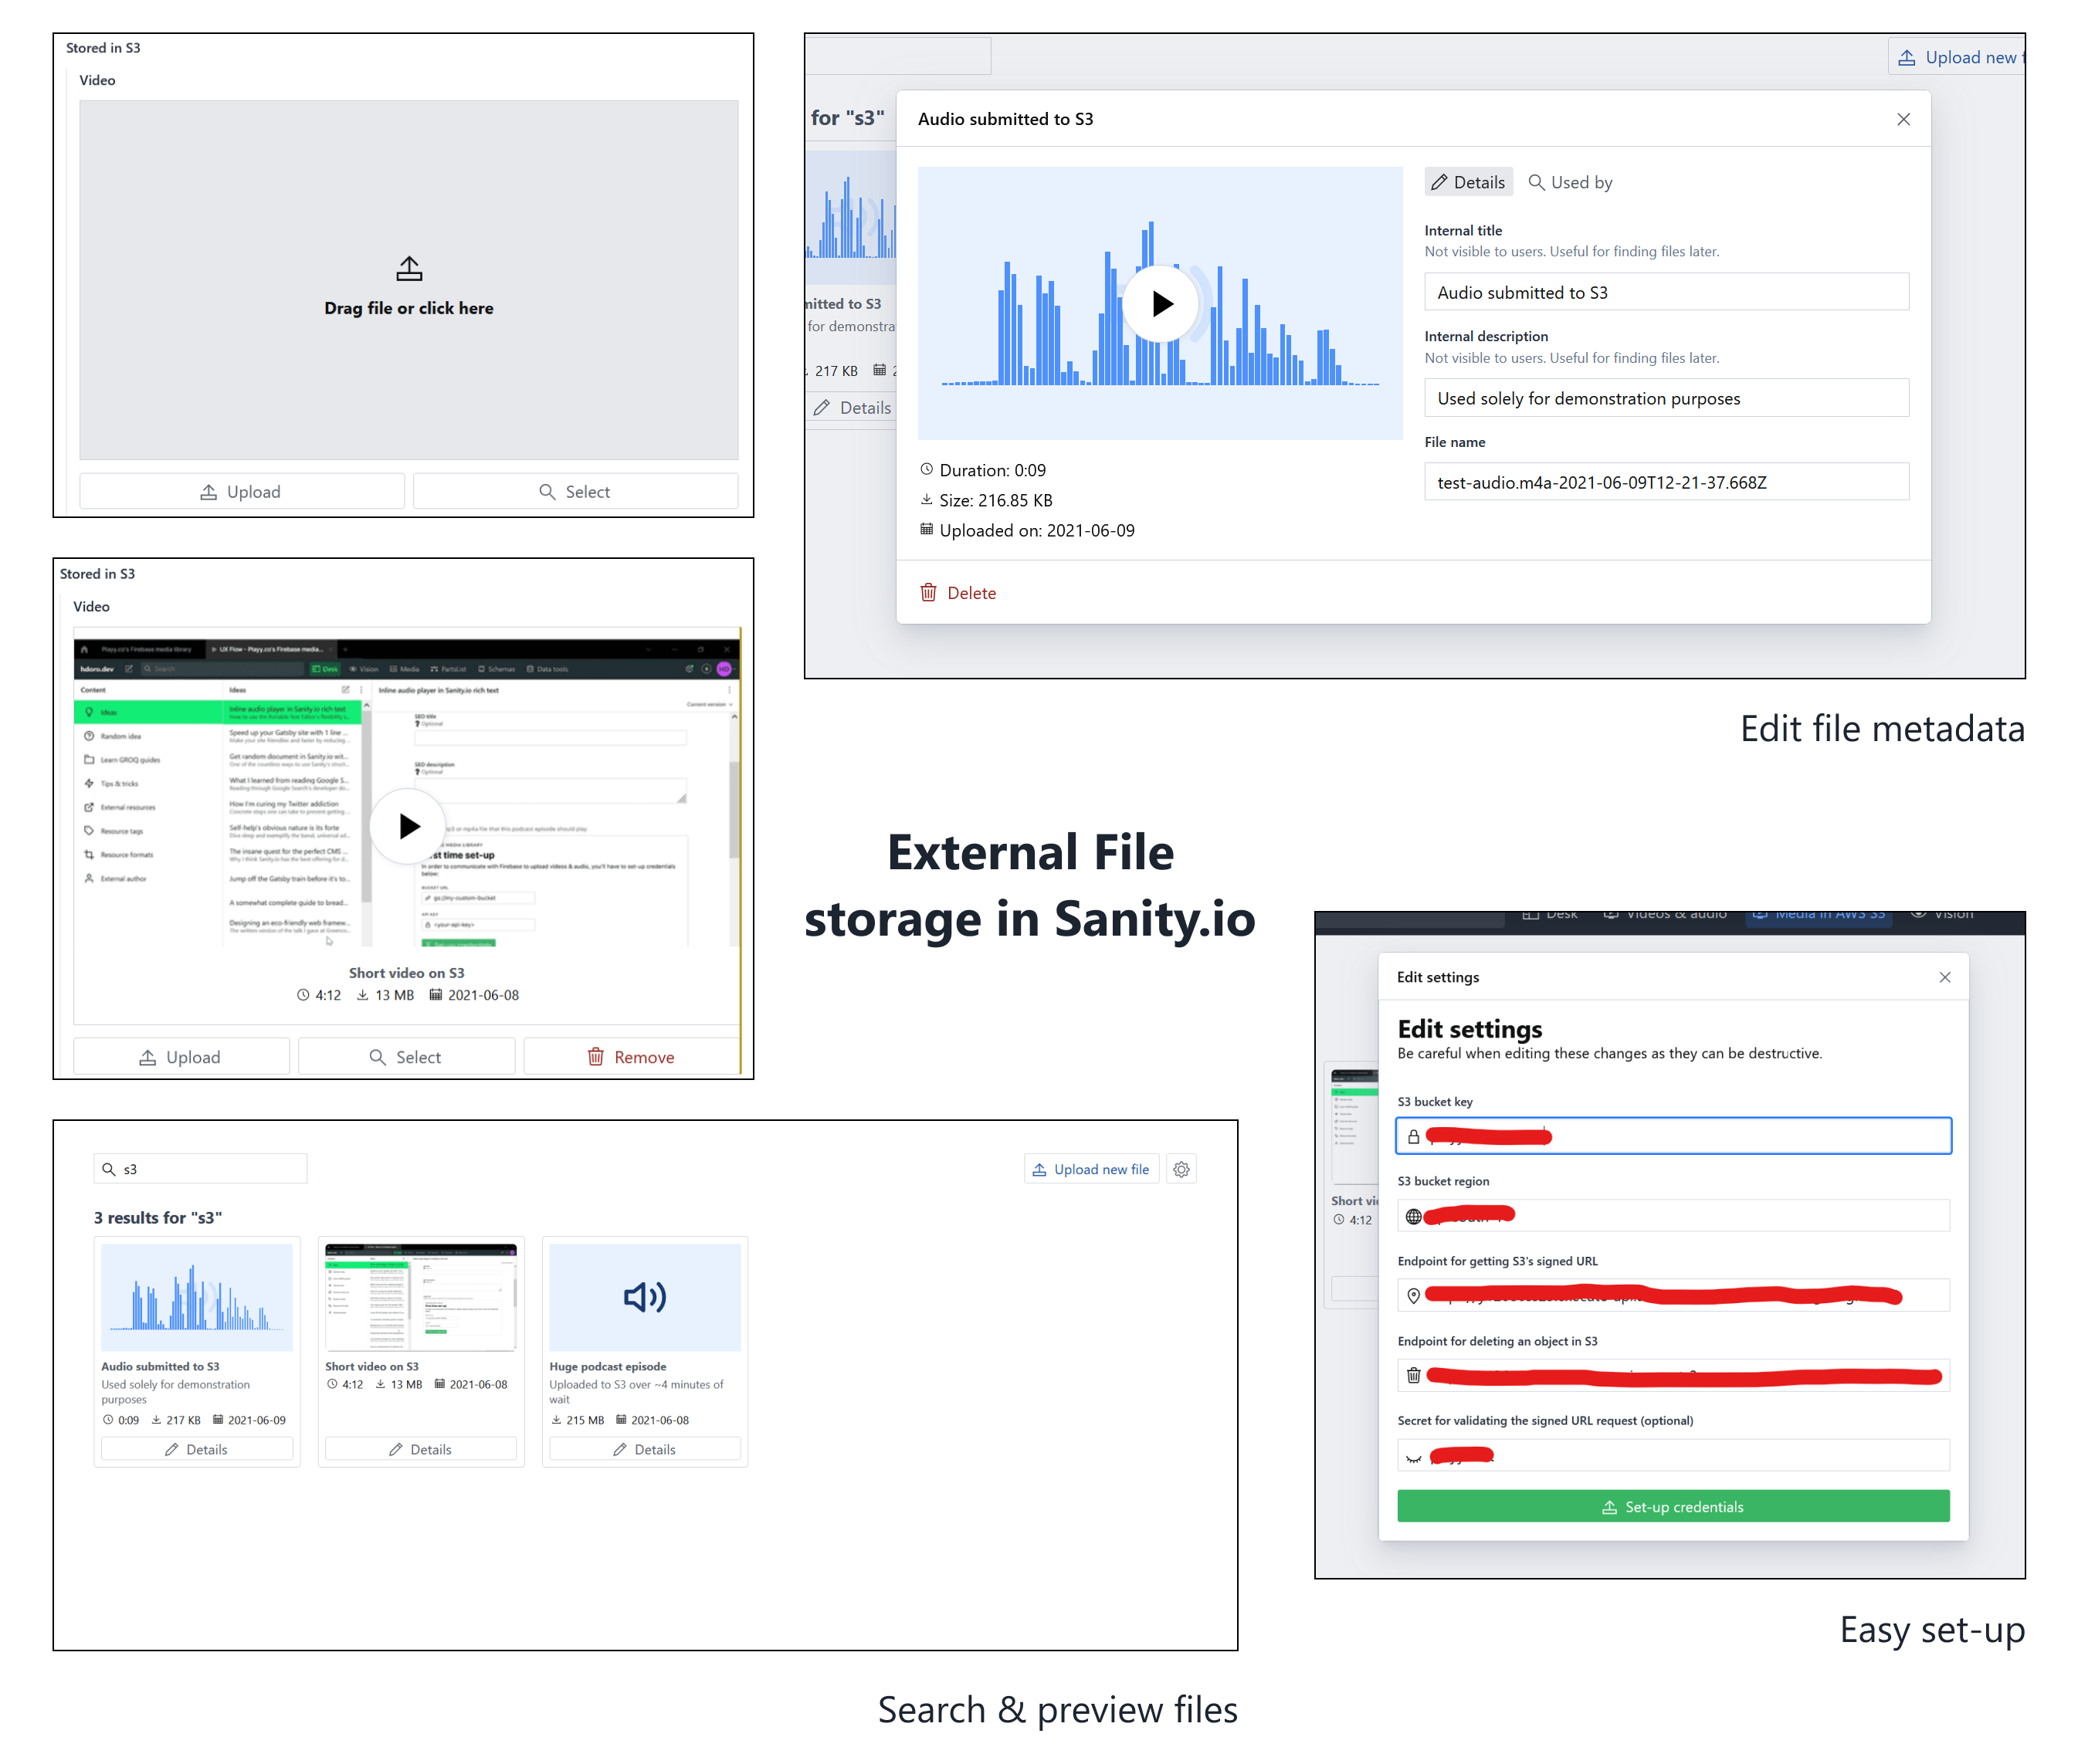
## Why Cloudflare?
- **Cost-effective**: Cloudflare R2 is a cost-effective solution for storing large files. You only pay for what you use. No egress fees.
- **Fast**: Cloudflare R2 is built on Cloudflare's global network, making it fast to upload and download files.
- **Secure**: Cloudflare R2 is built on Cloudflare's security-first architecture, making it secure by default.
- **Simplicity**: Cloudflare R2 is easy to set up and use.
## Usage
1. [Configure Cloudflare R2 Bucket](#configuring-the-cloudflare-r2-bucket)
2. [Configure Sanity Studio](#configuring-sanity-studio)
## Configuring Cloudflare
1. Create Cloudflare Account [here](https://dash.cloudflare.com/sign-up)
2. Create a new R2 Bucket (e. g. `sanity-media`)
3. Either [use the R2.dev public domain](#cloudflare-r2-bucket-with-r2dev-public-domain) or [add your custom domain](#cloudflare-r2-bucket-with-custom-public-domain)
4. Deploy the Cloudflare Worker [as described below](#deploy-cloudflare-worker)
5. Add the worker URL to your plugin configuration (`workerUrl`)
6. Add the R2 Bucket URL (either R2.dev subdomain or custom domain) to your plugin configuration (`url`)
### Deploy Cloudflare Worker
The plugin requires a Cloudflare Worker to handle the file uploads and deletions. You can find the code for the worker in the `worker` directory of this repository.
This is required because Sanity Studio doesn't support any server-side logic.
1. Install the [Wrangler CLI](https://developers.cloudflare.com/workers/cli-wrangler/install-update)
2. Login to your Cloudflare account by running `wrangler login`
3. `git clone` this repository (`git clone https://github.com/hdoro/sanity-plugin-external-files`)
4. `cd` into the `worker` directory (`cd packages/cloudflare-r2/worker`)
5. Adjust the `wrangler.toml` file and configure `ALLOWED_ORIGINS` and `bucket_name` to match your setup
6. Add `SECRET` as Cloudflare Secret as described [here](https://developers.cloudflare.com/workers/configuration/secrets/#adding-secrets-to-your-project) (e. g. `SECRET=your-secret`)
7. Run `wrangler publish` to deploy the worker
8. Copy the worker URL from the output and add it to your plugin configuration
### Cloudflare R2 Bucket with R2.dev Public Domain
1. Login to your Cloudflare account [here](https://dash.cloudflare.com/)
2. Go to "R2" and either create a new bucket or choose your existing one (e. g. `sanity-media`)
3. Go to "Settings" and choose "R2.dev subdomain"
4. Hit "Enable"
### Cloudflare R2 Bucket with Custom Public Domain
1. Login to your Cloudflare account [here](https://dash.cloudflare.com/)
2. Go to "Website" and choose "Add domain" (e. g. `example.com`)
3. Follow the instructions to add your domain
4. Go to "R2" and either create a new bucket or choose your existing one (e. g. `sanity-media`)
5. Go to "Settings" and choose "Custom domain"
6. Add your custom domain (or subdomain) by entering it and follow the instructions to add the necessary DNS records
## Configuring Sanity Studio
1. Install the plugin `sanity-plugin-r2-files` by running:
```bash
npm i sanity-plugin-r2-files
# or yarn / pnpm / bun
```
2. Include the plugin in your `sanity.config.(js|ts)`:
```js
import { cloudflareR2Files } from 'sanity-plugin-r2-files'
import { defineConfig } from 'sanity'
export default defineConfig({
plugins: [
cloudflareR2Files({
toolTitle: 'Media Library',
credentials: {
url: 'https://<random>.r2.dev',
workerUrl: 'https://<worker>.<user>.workers.dev',
},
}),
],
})
```
3. And use its `r2-files.media` type in schemas you want to use Cloudflare R2 files from:
```js
export default {
name: 'caseStudy',
type: 'document',
fields: [
{
name: 'featuredVideo',
type: 'r2-files.media',
options: {
accept: {
'video/*': ['mp4', 'webm', 'mov'],
},
},
},
],
}
```
## Data structure & querying
Each media item is a Sanity document that holds information of the object stored in Cloudflare R2, like its `fileURL`, `contentType` and `fileSize`. It's analogous to Sanity's `sanity.imageAsset` and `sanity.fileAsset`: they're pointers to the actual blob, not the files themselves.
These files' type is `r2-files.storedFile`.
When selected by other document types, media is stored as references to these file documents. You can get the URL of the actual assets by following references in GROQ:
```groq
*[_type == 'caseStudy'] {
...,
featuredVideo-> {
fileSize,
fileURL,
cloudflareR2 {
fileKey,
baseUrl,
},
},
}
```
## Contributing, roadmap & acknowledgments
Refer to [sanity-plugin-external-files](https://github.com/hdoro/sanity-plugin-external-files) for those.