prettyjson
Version:
Package for formatting JSON data in a coloured YAML-style, perfect for CLI output
117 lines (76 loc) • 3.33 kB
Markdown
# prettyjson [](http://travis-ci.org/rafeca/prettyjson) [](http://badge.fury.io/js/prettyjson)
Package for formatting JSON data in a coloured YAML-style, perfect for CLI output.
## How to install
Just install it via NPM:
```bash
$ npm install prettyjson
```
## Using it (from the CLI)
This package installs a command line interface to render JSON data in a more convenient way. You can use the CLI
in three different ways:
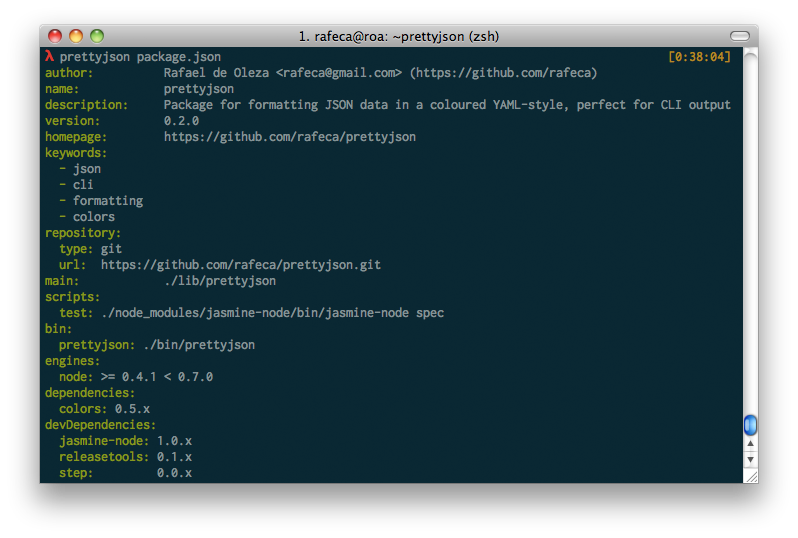
**Decode a JSON file:** If you want to see the contents of a JSON file, just pass it as the first argument to the CLI:
```bash
$ prettyjson package.json
```
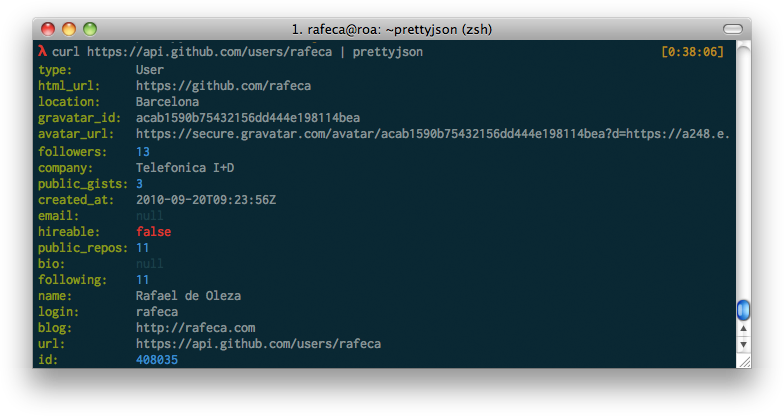
**Decode the stdin:** You can also pipe the result of a command (for example an HTTP request) to the CLI to see
the JSON result in a clearer way:
```bash
$ curl https://api.github.com/users/rafeca | prettyjson
```
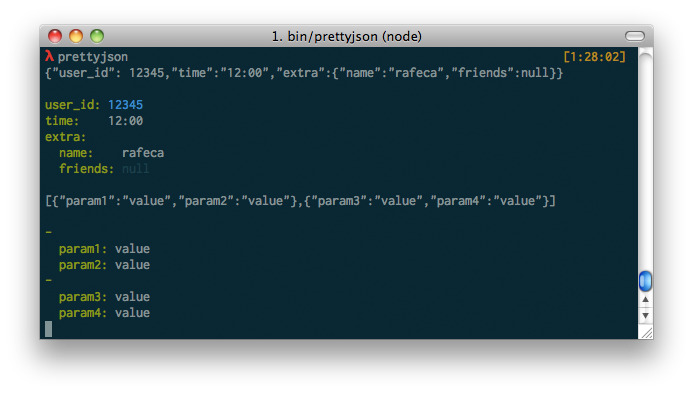
**Decode random strings:** if you call the CLI with no arguments, you'll get a prompt where you can past JSON strings
and they'll be automatically displayed in a clearer way:
If you install the package globally (with `npm install -g prettyjson`), the CLI will be installed automatically in your PATH
thanks to npm.
### Customizing colors via command line
Now it's possible to customize the colors of the output via environment variables, thanks to @bahamas10:
```bash
$ PRETTYJSON_KEYS=red PRETTYJSON_DASH=blue PRETTYJSON_STRING=yellow prettyjson package.json
```
The available options are `PRETTYJSON_KEYS`, `PRETTYJSON_DASH`, `PRETTYJSON_STRING` and `PRETTYJSON_INDENT`.
## Using it (from Node.js)
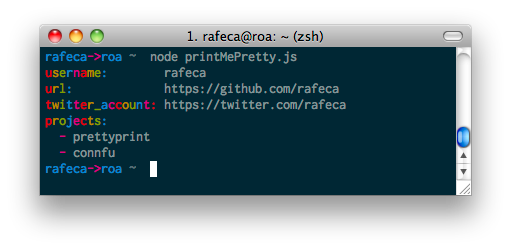
It's pretty easy to use it... you just have to include it in your script and call the `render()` method:
```javascript
var prettyjson = require('prettyjson');
var data = {
username: 'rafeca',
url: 'https://github.com/rafeca',
twitter_account: 'https://twitter.com/rafeca',
projects: ['prettyprint', 'connfu']
};
console.log(prettyjson.render(data));
```
And will output:

You can also configure the colors of the hash keys and array dashes
(using [colors.js](https://github.com/Marak/colors.js) colors syntax):
```javascript
var prettyjson = require('prettyjson');
var data = {
username: 'rafeca',
url: 'https://github.com/rafeca',
twitter_account: 'https://twitter.com/rafeca',
projects: ['prettyprint', 'connfu']
};
console.log(prettyjson.render(data, {
keysColor: 'rainbow',
dashColor: 'magenta',
stringColor: 'white'
}));
```
Will output something like:
## Annotated source
You can check the [annotated source](http://rafeca.com/prettyjson/prettyjson.html) for more information about how it works
## Running Tests
To run the test suite first invoke the following command within the repo, installing the development dependencies:
```bash
$ npm install --dev
```
then run the tests:
```bash
$ npm test
```
You can check the package's [test coverage](http://rafeca.com/prettyjson/coverage.html) if you are one of those test paranoics