angular-froala-wysiwyg-2.7.1
Version:
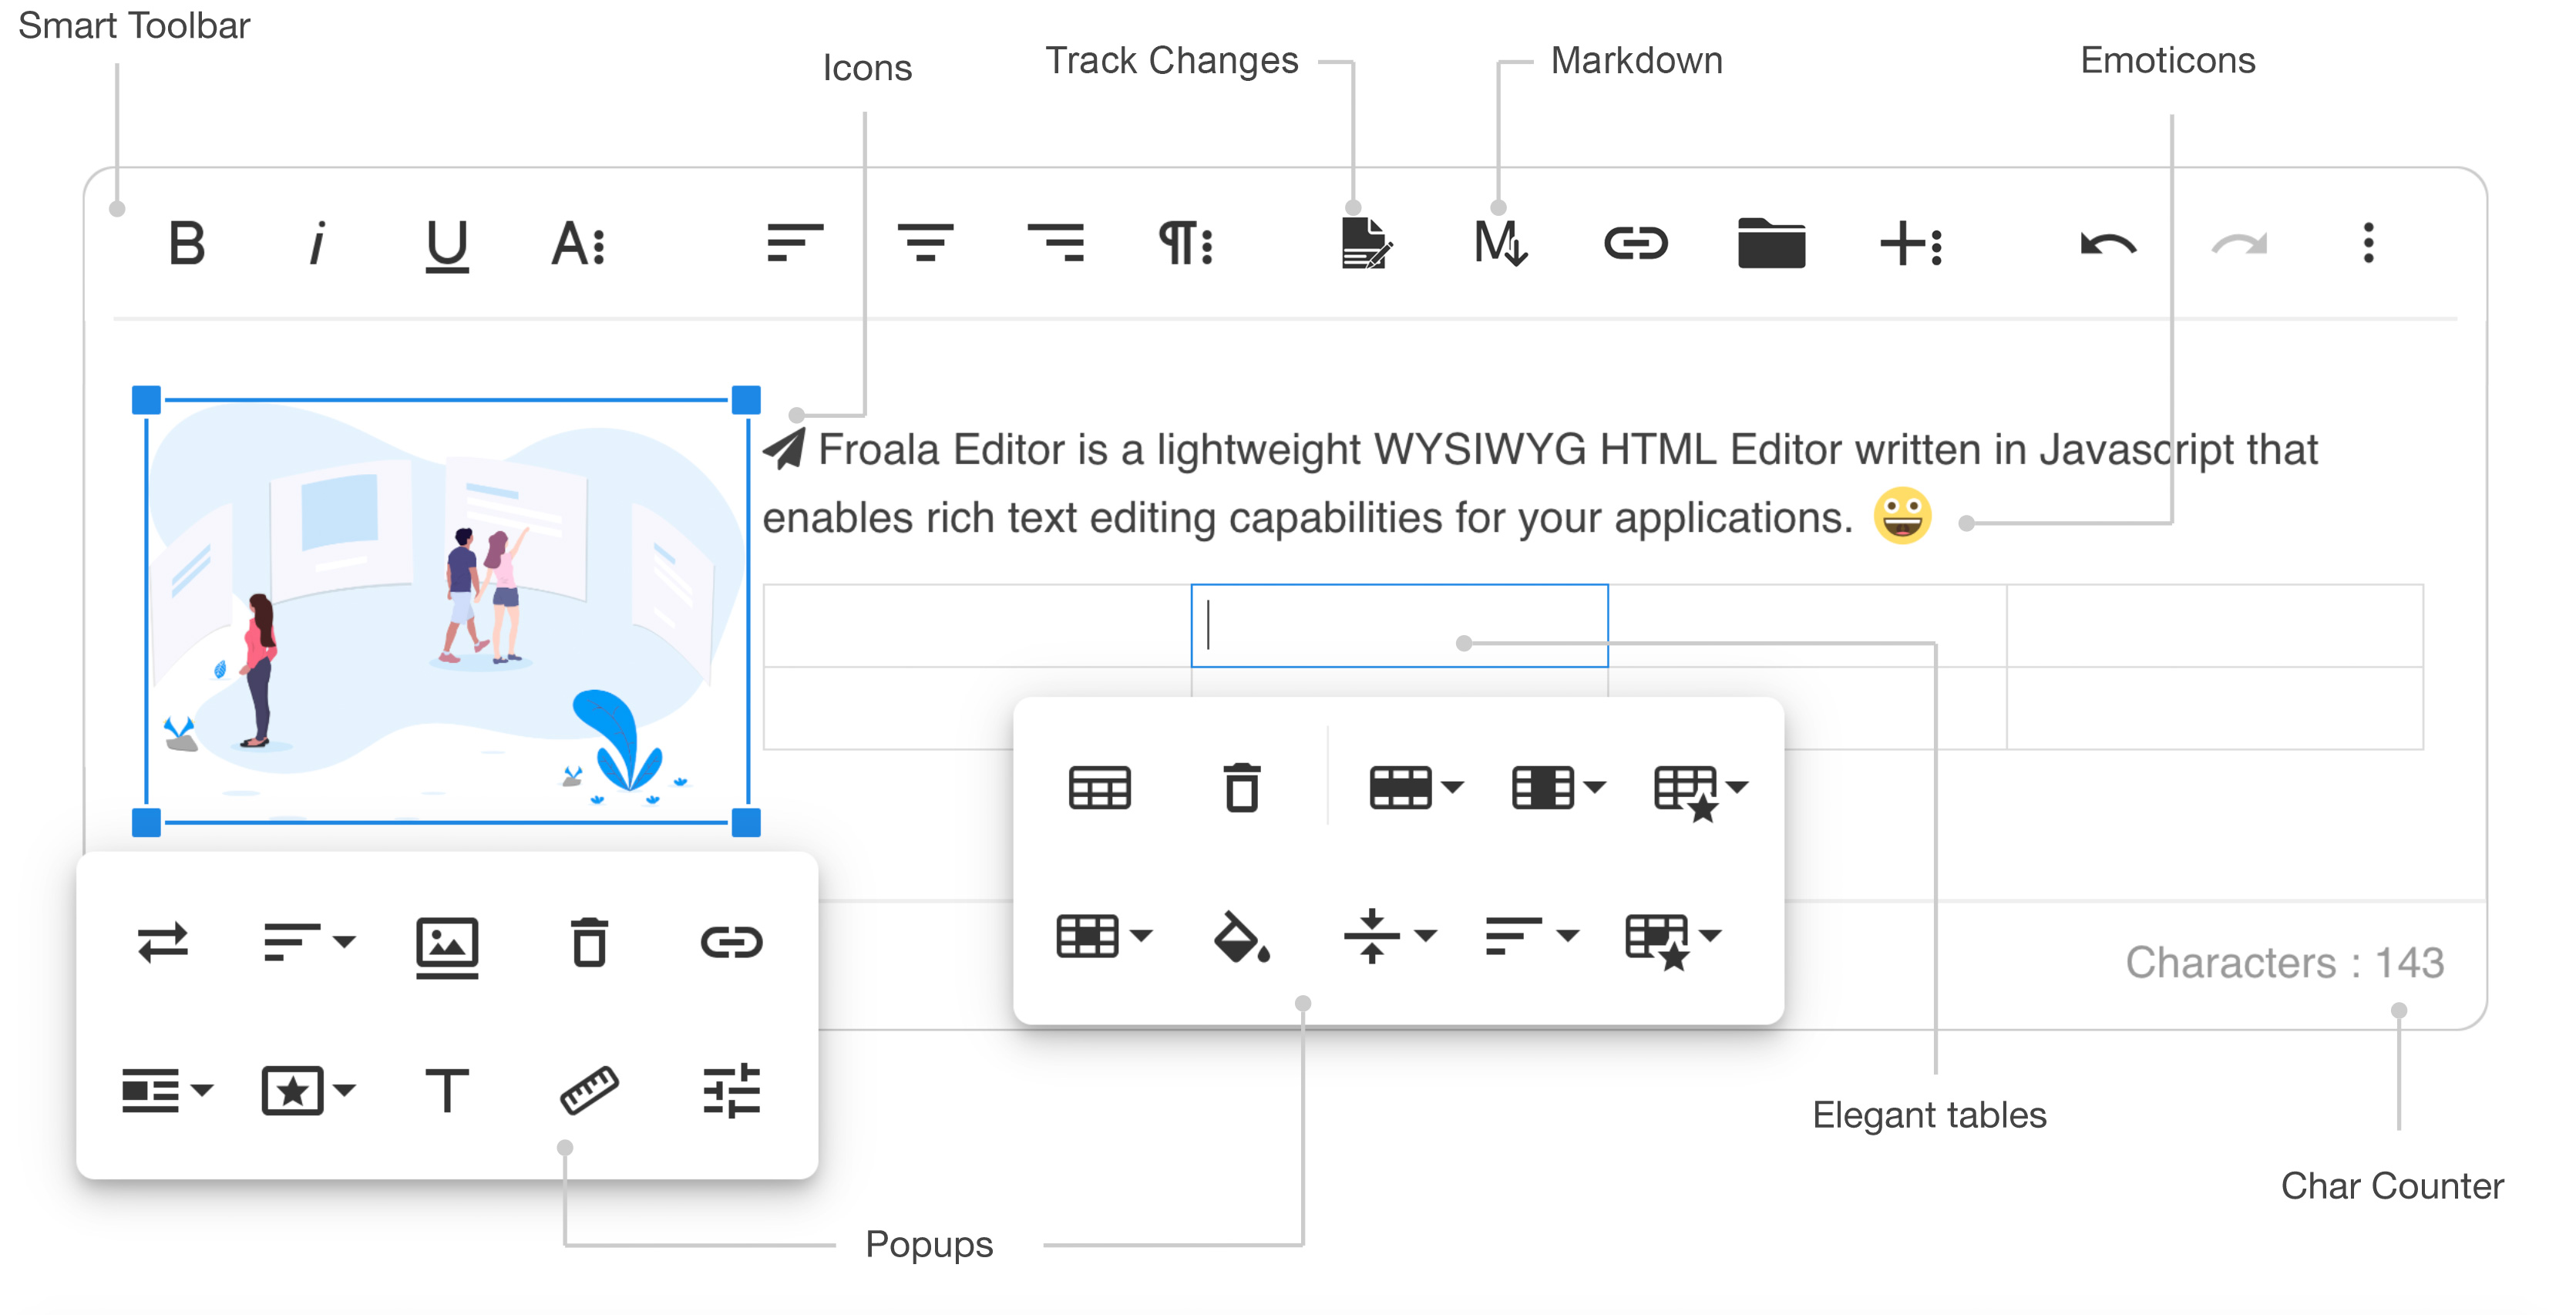
Angular 2 and Angular 4 bindings for Froala WYSIWYG HTML rich text editor
869 lines (621 loc) • 20.8 kB
Markdown
[](https://www.npmjs.com/package/angular-froala-wysiwyg)
[](https://www.npmjs.com/package/angular-froala-wysiwyg)
[](https://www.npmjs.com/package/angular-froala-wysiwyg)
>Angular 2 and Angular 4 bindings for Froala WYSIWYG Editor.
1. [Installation instructions](
2. [Update editor instructions](
3. [Integration](
- [angular-cli](
- [ionic v2 or v3](
- [webpack](
- [angular-starter](
- [angular-seed](
- [System.js and JIT](
- [AOT](
4. [Usage](
5. [Manual Initialization](
6. [Displaying HTML](
7. [License](
8. [Development environment setup](
Install `angular-froala-wysiwyg` from `npm`
```bash
npm install angular-froala-wysiwyg
```
You will need CSS styles and Font Awesome
```html
<!-- index.html -->
<link href="node_modules/froala-editor/css/froala_editor.pkgd.min.css" rel="stylesheet">
<link href="node_modules/font-awesome/css/font-awesome.min.css" rel="stylesheet">
```
```bash
npm update froala-editor --save
```
*Note*: you can skip this part if you already have application generated.
```bash
npm install -g @angular/cli
ng new my-app
cd my-app
```
- install `angular-froala-wysiwyg`
```bash
npm install angular-froala-wysiwyg --save
```
- open `src/app/app.module.ts` and add
```typescript
// Import Angular plugin.
import { FroalaEditorModule, FroalaViewModule } from 'angular-froala-wysiwyg';
...
@NgModule({
...
imports: [FroalaEditorModule.forRoot(), FroalaViewModule.forRoot() ... ],
...
})
```
- open `.angular-cli.json` file and insert a new entry into the `styles` array
```json
"styles": [
"styles.css",
"../node_modules/froala-editor/css/froala_editor.pkgd.min.css",
"../node_modules/froala-editor/css/froala_style.min.css",
"../node_modules/font-awesome/css/font-awesome.css"
]
```
- in .`angular-cli.json` file insert a new entry into the `scripts` array
```json
"scripts": [
"../node_modules/jquery/dist/jquery.min.js",
"../node_modules/froala-editor/js/froala_editor.pkgd.min.js"
]
```
- open `src/app/app.component.html` and add
```html
<div [froalaEditor]>Hello, Froala!</div>
```
```bash
ng serve
```
*Note*: you can skip this part if you already have application generated.
```bash
npm install -g cordova ionic
ionic start myApp blank
cd myApp
```
For v3 make sure that you use the latest version of ionic and also the latest version of angular.
Installing Froala Wysiwyg Editor in Ionic is fairly easy, it can be done using npm:
```bash
npm install angular-froala-wysiwyg --save
```
- open `src/app/app.module.ts` and add
```typescript
// Import Froala Editor.
import "froala-editor/js/froala_editor.pkgd.min.js";
// Import Angular2 plugin.
import { FroalaEditorModule, FroalaViewModule } from 'angular-froala-wysiwyg';
...
@NgModule({
...
imports: [FroalaEditorModule.forRoot(), FroalaViewModule.forRoot() ... ],
...
})
```
- open `src/app/main.ts` and add
```javascript
import * as $ from 'jquery';
window["$"] = $;
window["jQuery"] = $;
```
- In `package.json` add the following:
```json
"config": {
"ionic_copy": "./config/copy.config.js"
}
```
- Run the following commands
```bash
mkdir config
cp node_modules/@ionic/app-scripts/config/copy.config.js ./config/
```
- Open `config/copy.config.js` file and add the following at the beginning of `module.exports`
```javascript
module.exports = {
copyFroalaEditorCss: {
src: ['{{ROOT}}/node_modules/froala-editor/css/froala_editor.pkgd.min.css', '{{ROOT}}/node_modules/froala-editor/css/froala_style.min.css'],
dest: '{{BUILD}}'
},
copyFontAwesome: {
src: '{{ROOT}}/node_modules/font-awesome/css/font-awesome.min.css',
dest: '{{BUILD}}'
},
copyFontsAwesomeFonts: {
src: '{{ROOT}}/node_modules/font-awesome/fonts/*',
dest: '{{WWW}}/fonts'
},
...
}
```
- Open `src/index.html` file and add in the `<head>` tag:
```html
<link rel="stylesheet" href="/build/font-awesome.min.css">
<link rel="stylesheet" href="/build/froala_editor.pkgd.min.css">
<link rel="stylesheet" href="/build/froala_style.min.css">
```
In your desired view add the Froala Editor like this:
```html
<div [froalaEditor]>Hello, Froala!</div>
```
```bash
ionic serve
```
*Note*: you can skip this part if you already have application generated.
```bash
git clone --depth 1 https://github.com/AngularClass/angular-starter.git
cd angular-starter
npm install
```
- install `angular-froala-wysiwyg`
```bash
npm install angular-froala-wysiwyg --save
```
- open `src/app/app.module.ts` and add
```typescript
// Import the Froala Editor plugin.
import "froala-editor/js/froala_editor.pkgd.min.js";
// Import Angular plugin.
import { FroalaEditorModule, FroalaViewModule } from 'angular-froala-wysiwyg';
...
@NgModule({
...
imports: [FroalaEditorModule.forRoot(), FroalaViewModule.forRoot(), ... ],
...
})
```
- open `src/app/app.component.ts` and add to the template
```html
<div [froalaEditor]>Hello, Froala!</div>
```
- open `config/webpack.common.js` and add the following to `CopyWebpackPlugin`
```javascript
{
from: 'node_modules/froala-editor/css/',
to: 'assets/froala-editor/css/',
},
{
from: 'node_modules/font-awesome/css/font-awesome.min.css',
to: 'assets/font-awesome/css/font-awesome.min.css',
},
{
from: 'node_modules/font-awesome/fonts',
to: 'assets/font-awesome/fonts'
}
```
- in `config/webpack.common.js` copy the following to `plugins`
```javascript
new webpack.ProvidePlugin({
$: "jquery",
jQuery: "jquery"
})
```
- open `config/head-config.common.js` and add a new entry to link
```javascript
{ rel: 'stylesheet', href: '/assets/font-awesome/css/font-awesome.min.css' },
{ rel: 'stylesheet', href: '/assets/froala-editor/css/froala_editor.pkgd.min.css' },
{ rel: 'stylesheet', href: '/assets/froala-editor/css/froala_style.min.css' }
```
```bash
npm run start
```
*Note*: you can skip this part if you already have application generated. For more details please also read: https://github.com/mgechev/angular-seed.
```bash
git clone --depth 1 https://github.com/mgechev/angular-seed.git
cd angular-seed
npm install
```
- install `angular-froala-wysiwyg`
```bash
npm install angular-froala-wysiwyg --save
```
- open `tools/config/project.config.ts` file and **uncomment** the following line from the top of the file
```typescript
import { ExtendPackages } from './seed.config.interfaces';
```
- in `tools/config/project.config.ts` file add
```typescript
...
this.NPM_DEPENDENCIES = [
...this.NPM_DEPENDENCIES,
{ src: 'jquery/dist/jquery.min.js', inject: 'libs'},
{ src: 'froala-editor/js/froala_editor.pkgd.min.js', inject: 'libs' },
{ src: 'font-awesome/css/font-awesome.min.css', inject: true },
{ src: 'froala-editor/css/froala_editor.pkgd.min.css', inject: true },
{ src: 'froala-editor/css/froala_style.min.css', inject: true }
];
...
let additionalPackages: ExtendPackages[] = [
// required for dev build
{
name:'angular-froala-wysiwyg',
path:'node_modules/angular-froala-wysiwyg/bundles/angular-froala-wysiwyg.umd.min.js'
},
// required for prod build
{
name:'angular-froala-wysiwyg/*',
path:'node_modules/angular-froala-wysiwyg/bundles/angular-froala-wysiwyg.umd.min.js'
}
]
this.addPackagesBundles(additionalPackages);
```
- open `src/client/app/home/home.module.ts` and add
```typescript
// Import Angular2 plugin.
import { FroalaEditorModule, FroalaViewModule } from 'angular-froala-wysiwyg';
...
@NgModule({
...
imports: [FroalaEditorModule.forRoot(), FroalaViewModule.forRoot() ... ],
...
})
```
- open `src/client/app/home/home.component.html` and add
```html
<div [froalaEditor]>Hello, Froala!</div>
```
```bash
npm run start
```
*Note*: you can skip this part if you already have application generated.
```bash
git clone https://github.com/angular/quickstart.git angular-quickstart
cd angular-quickstart
npm install
```
- install `angular-froala-wysiwyg`
```bash
npm install angular-froala-wysiwyg --save
```
- open `src/index.html` and add
```html
<link rel="stylesheet" href="node_modules/font-awesome/css/font-awesome.min.css">
<link rel="stylesheet" href="node_modules/froala-editor/css/froala_editor.pkgd.min.css">
<link rel="stylesheet" href="node_modules/froala-editor/css/froala_style.min.css">
<script src="node_modules/jquery/dist/jquery.min.js"></script>
<script src="node_modules/froala-editor/js/froala_editor.pkgd.min.js"></script>
```
- open `src/app/app.module.ts` and add
```typescript
// Import Angular2 plugin.
import { FroalaEditorModule, FroalaViewModule } from 'angular-froala-wysiwyg';
...
@NgModule({
...
imports: [FroalaEditorModule.forRoot(), FroalaViewModule.forRoot(), ... ],
...
})
```
- open `src/app/app.component.ts` file and add to the template
```html
<div [froalaEditor]>Hello, Froala!</div>
```
- open `src/systemjs.config.js` file and add to map
```javascript
map: {
...
'angular-froala-wysiwyg': 'npm:angular-froala-wysiwyg/bundles/angular-froala-wysiwyg.umd.js',
...
}
```
```html
<div [froalaEditor]>Hello, Froala!</div>
```
-
```bash
npm run start
```
*Note*: you can skip this part if you already have application generated.
```bash
git clone https://github.com/angular/quickstart.git angular-quickstart
cd angular-quickstart
npm install
```
Install additional dependencies. *Make sure that there is no UNMET PEER DEPENDENCY.*
```bash
npm install @angular/compiler-cli @angular/platform-server --save
npm install rollup rollup-plugin-node-resolve rollup-plugin-commonjs rollup-plugin-uglify --save-dev
npm install lite-server --save-dev
```
Copy `scr/tsconfig.json` to a new file called `tsconfig-aot.json` in the root of the project, then modify it as follows.
```json
{
"compilerOptions": {
"target": "es5",
"module": "es2015",
"moduleResolution": "node",
"sourceMap": true,
"emitDecoratorMetadata": true,
"experimentalDecorators": true,
"lib": ["es2015", "dom"],
"noImplicitAny": true,
"suppressImplicitAnyIndexErrors": true,
"typeRoots": [
"./node_modules/@types/"
]
},
"files": [
"src/app/app.module.ts",
"src/main.ts"
],
"angularCompilerOptions": {
"genDir": "aot",
"skipMetadataEmit" : true
}
}
```
Create a configuration file (`rollup-config.js`) in the project root directory to tell Rollup how to process the application.
```javascript
import nodeResolve from 'rollup-plugin-node-resolve';
import commonjs from 'rollup-plugin-commonjs';
import uglify from 'rollup-plugin-uglify';
export default {
entry: 'src/main.js',
dest: 'src/build.js', // output a single application bundle
sourceMap: false,
format: 'iife',
onwarn: function(warning) {
// Skip certain warnings
// should intercept ... but doesn't in some rollup versions
if ( warning.code === 'THIS_IS_UNDEFINED' ) { return; }
// console.warn everything else
console.warn( warning.message );
},
plugins: [
nodeResolve({jsnext: true, module: true}),
commonjs({
include: 'node_modules/rxjs/**',
}),
uglify()
]
};
```
Update `src/main.ts` file for AOT:
```typescript
import { platformBrowser } from '@angular/platform-browser';
import { AppModuleNgFactory } from '../aot/src/app/app.module.ngfactory';
console.log('Running AOT compiled');
platformBrowser().bootstrapModuleFactory(AppModuleNgFactory);
```
- install `angular-froala-wysiwyg`
```bash
npm install angular-froala-wysiwyg --save
```
- open `src/index.html` and add
```html
<link rel="stylesheet" href="node_modules/font-awesome/css/font-awesome.min.css">
<link rel="stylesheet" href="node_modules/froala-editor/css/froala_editor.pkgd.min.css">
<link rel="stylesheet" href="node_modules/froala-editor/css/froala_style.min.css">
<script src="node_modules/jquery/dist/jquery.min.js"></script>
<script src="node_modules/froala-editor/js/froala_editor.pkgd.min.js"></script>
```
- open `src/app/app.module.ts` and add
```typescript
// Import Angular2 plugin.
import { FroalaEditorModule, FroalaViewModule } from 'angular-froala-wysiwyg';
...
@NgModule({
...
imports: [FroalaEditorModule.forRoot(), FroalaViewModule.forRoot(), ... ],
...
})
```
- open `src/app/app.component.ts` file and add to the template
```html
<div [froalaEditor]>Hello, Froala!</div>
```
- open `rollup-config.js` and add the following
```javascript
//paths are relative to the execution path
export default {
...
plugins: [
...
commonjs({
include: [
'node_modules/rxjs/**',
'node_modules/angular-froala-wysiwyg/**'
]
}),
...
]
}
```
```bash
node_modules/.bin/ngc -p tsconfig-aot.json
node_modules/.bin/rollup -c rollup-config.js -c rollup-config.js
lite-server
```
You can pass editor options as Input (optional).
`[froalaEditor]='options'`
You can pass any existing Froala option. Consult the [Froala documentation](https://www.froala.com/wysiwyg-editor/docs/options) to view the list of all the available options:
```typescript
public options: Object = {
placeholderText: 'Edit Your Content Here!',
charCounterCount: false
}
```
Aditional option is used:
* **immediateAngularModelUpdate**: (default: false) This option synchronizes the angular model as soon as a key is released in the editor. Note that it may affect performances.
Events can be passed in with the options, with a key events and object where the key is the event name and the value is the callback function.
```typescript
public options: Object = {
placeholder: "Edit Me",
events : {
'froalaEditor.focus' : function(e, editor) {
console.log(editor.selection.get());
}
}
}
```
Using the editor instance from the arguments of the callback you can call editor methods as described in the [method docs](http://froala.com/wysiwyg-editor/docs/methods).
Froala events are described in the [events docs](https://froala.com/wysiwyg-editor/docs/events).
The WYSIWYG HTML editor content model.
`[(froalaModel)]="editorContent"`
Pass initial content:
```typescript
public editorContent: string = 'My Document\'s Title'
```
Use the content in other places:
```html
<input [ngModel]="editorContent"/>
<input [(ngModel)]="editorContent"/> <!-- For two way binding -->
```
Other two way binding example:
```html
<div [froalaEditor] [(froalaModel)]="editorContent"></div>
<div [froalaEditor] [(froalaModel)]="editorContent"></div>
```
Use it with reactive forms:
```html
<form [formGroup]="form" (ngSubmit)="onSubmit()">
<textarea [froalaEditor] formControlName="formModel"></textarea>
<button type="submit">Submit</button>
</form>
```
If you want to use two-way binding to display de form model in other places you must include `[(froalaModel)]`:
```html
<form [formGroup]="form" (ngSubmit)="onSubmit()">
<textarea [froalaEditor] formControlName="formModel" [(froalaModel)]="form.formModel"></textarea>
<div [froalaView]="form.formModel"></div>
<button type="submit">Submit</button>
</form>
```
If you want to wrap froalaEditor directive into a component that supports reactive forms please see [froala.component.ts](http://www.froala.dev/wysiwyg-editor/docs/framework-plugins/angularjs-2-4) from demo.
You can extend the functionality by adding a custom button like bellow:
```typescript
// We will make usage of the Init hook and make the implementation there.
import { Component, OnInit } from '@angular/core';
declare var $ :any;
@Component({
selector: 'app-demo',
template: `<div class="sample">
<h2>Sample 11: Add Custom Button</h2>
<div [froalaEditor]="options" [(froalaModel)]="content" ></div>
</div>`,
export class AppComponent implements OnInit{
ngOnInit () {
$.FroalaEditor.DefineIcon('alert', {NAME: 'info'});
$.FroalaEditor.RegisterCommand('alert', {
title: 'Hello',
focus: false,
undo: false,
refreshAfterCallback: false,
callback: function () {
alert('Hello!');
}
});
}
public options: Object = {
charCounterCount: true,
toolbarButtons: ['bold', 'italic', 'underline', 'paragraphFormat','alert'],
toolbarButtonsXS: ['bold', 'italic', 'underline', 'paragraphFormat','alert'],
toolbarButtonsSM: ['bold', 'italic', 'underline', 'paragraphFormat','alert'],
toolbarButtonsMD: ['bold', 'italic', 'underline', 'paragraphFormat','alert'],
};
}
```
You can also use the editor on **img**, **button**, **input** and **a** tags:
```html
<img [froalaEditor] [(froalaModel)]="imgObj"/>
```
The model must be an object containing the attributes for your special tags. Example:
```typescript
public imgObj: Object = {
src: 'path/to/image.jpg'
};
```
The froalaModel will change as the attributes change during usage.
* froalaModel can contain a special attribute named **innerHTML** which inserts innerHTML in the element: If you are using 'button' tag, you can specify the button text like this:
```typescript
public buttonModel: Object = {
innerHTML: 'Click Me'
};
```
As the button text is modified by the editor, the **innerHTML** attribute from buttonModel model will be modified too.
* **angularIgnoreAttrs**: (default: null) This option is an array of attributes that you want to ignore when the editor updates the froalaModel:
```typescript
public inputOptions: Object = {
angularIgnoreAttrs: ['class', 'id']
};
```
Gets the functionality to operate on the editor: create, destroy and get editor instance. Use it if you want to manually initialize the editor.
`(froalaInit)="initialize($event)"`
Where `initialize` is the name of a function in your component which will receive an object with different methods to control the editor initialization process.
```typescript
public initialize(initControls) {
this.initControls = initControls;
this.deleteAll = function() {
this.initControls.getEditor()('html.set', '');
};
}
```
The object received by the function will contain the following methods:
- **initialize**: Call this method to initialize the Froala Editor
- **destroy**: Call this method to destroy the Froala Editor
- **getEditor**: Call this method to retrieve the editor that was created. This method will return *null* if the editor was not yet created
To display content created with the froala editor use the froalaView directive.
`[froalaView]="editorContent"`
```html
<div [froalaEditor] [(froalaModel)]="editorContent"></div>
<div [froalaView]="editorContent"></div>
```
The `angular-froala-wyswiyg` project is under MIT license. However, in order to use Froala WYSIWYG HTML Editor plugin you should purchase a license for it.
Froala Editor has [3 different licenses](http://froala.com/wysiwyg-editor/pricing) for commercial use.
For details please see [License Agreement](http://froala.com/wysiwyg-editor/terms).
If you want to contribute to angular-froala-wyswiyg, you will first need to install the required tools to get the project going.
* [Node Package Manager](https://npmjs.org/) (NPM)
* [Git](http://git-scm.com/)
$ npm install
$ npm run demo.build
$ npm run start