aframe-xterm-component
Version:
Playing around with getting xterm.js working in Aframe VR
83 lines (54 loc) • 2.93 kB
Markdown
# aframe-xterm-component
Render ANSI terminals in Web VR scenes.
## How it works:
Uses [xterm.js](https://xtermjs.org/) for the terminal rendering logic.
Under the hood, xterm.js is rendering the terminal to a series of canvases. This component takes those canvases, merges them together, and sets your entity's material to point at the canvas.
From there you can write text to the terminal and respond to feedback.
Make sure to include the xterm.js dependency in addition to the component.
```html
<link rel="stylesheet" href="//unpkg.com/xterm@3.12.0/dist/xterm.css" />
<script src="//unpkg.com/xterm@3.12.0/dist/xterm.js"></script>
<script src="//unpkg.com/aframe-xterm-component/aframe-xterm-component.js"></script>
```
Here's a quick example of how you can write to the component.
```javascript
AFRAME.AFRAME.registerComponent('xterm-example', {
dependencies: ['xterm'],
init: function() {
const message = 'Hello from \x1B[1;3;31mWebVR\x1B[0m !\r\n$ '
const xterm = this.el.components['xterm']
xterm.write(message)
this.el.addEventListener('xterm-data', ({detail}) => {
console.log('Got input from terminal', detail)
})
}
})
```
By default the terminal will render with 80 columns, and 25 rows (default size for windows command prompt). You can change this by setting it in the component options.
```html
<a-entity
xterm="rows: 4; cols: 20;"
></a-entity>
```
## Theming
You can change the color scheme using the component parameters by adding properties that start with `theme_`. You can find a list of all theme options in [the xterm.js documentation](https://xtermjs.org/docs/api/terminal/interfaces/itheme/).
For example you can have a bright color scheme using this:
```html
<a-entity
xterm="
theme_background: white;
theme_foreground: black;"
></a-entity>
```
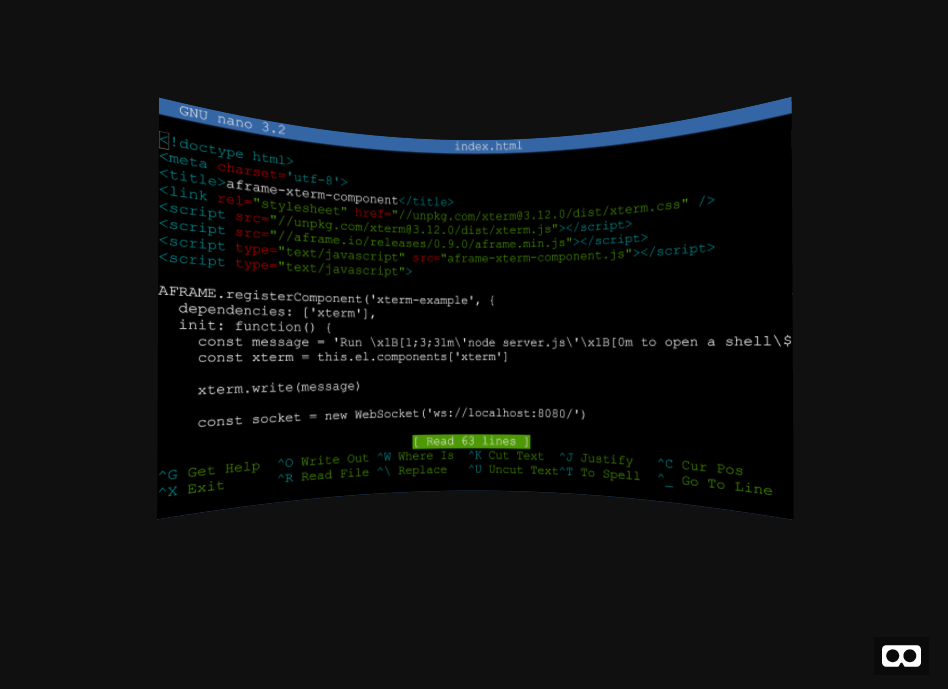
## Running the example:
The example in `index.html` uses a [Websocket](https://developer.mozilla.org/en-US/docs/Web/API/WebSocket) to connect to a local [Node.js](http://nodejs.org/) server which creates a shell.
After cloning the repository somewhere, do the following:
```
npm install
node server.js
```
And then open [localhost:8080/index.html](http://localhost:8080/index.html) in a WebVR browser in your headset. (Or in a regular browser if you just want to check it out in 3D)
Make sure you have a keyboard connected. I've tested it on the Google Daydream using Firefox Reality and the Logitech K380 BlueTooth keyboard.
You'll want to use a pointer of some sort to click on the terminal to give it keyboard focus.
On Android, I'm using the [UserLAnd](https://github.com/CypherpunkArmory/UserLAnd) App in order to create an Ubuntu environment, and running the server from there.