@spaced-out/ui-design-system
Version:
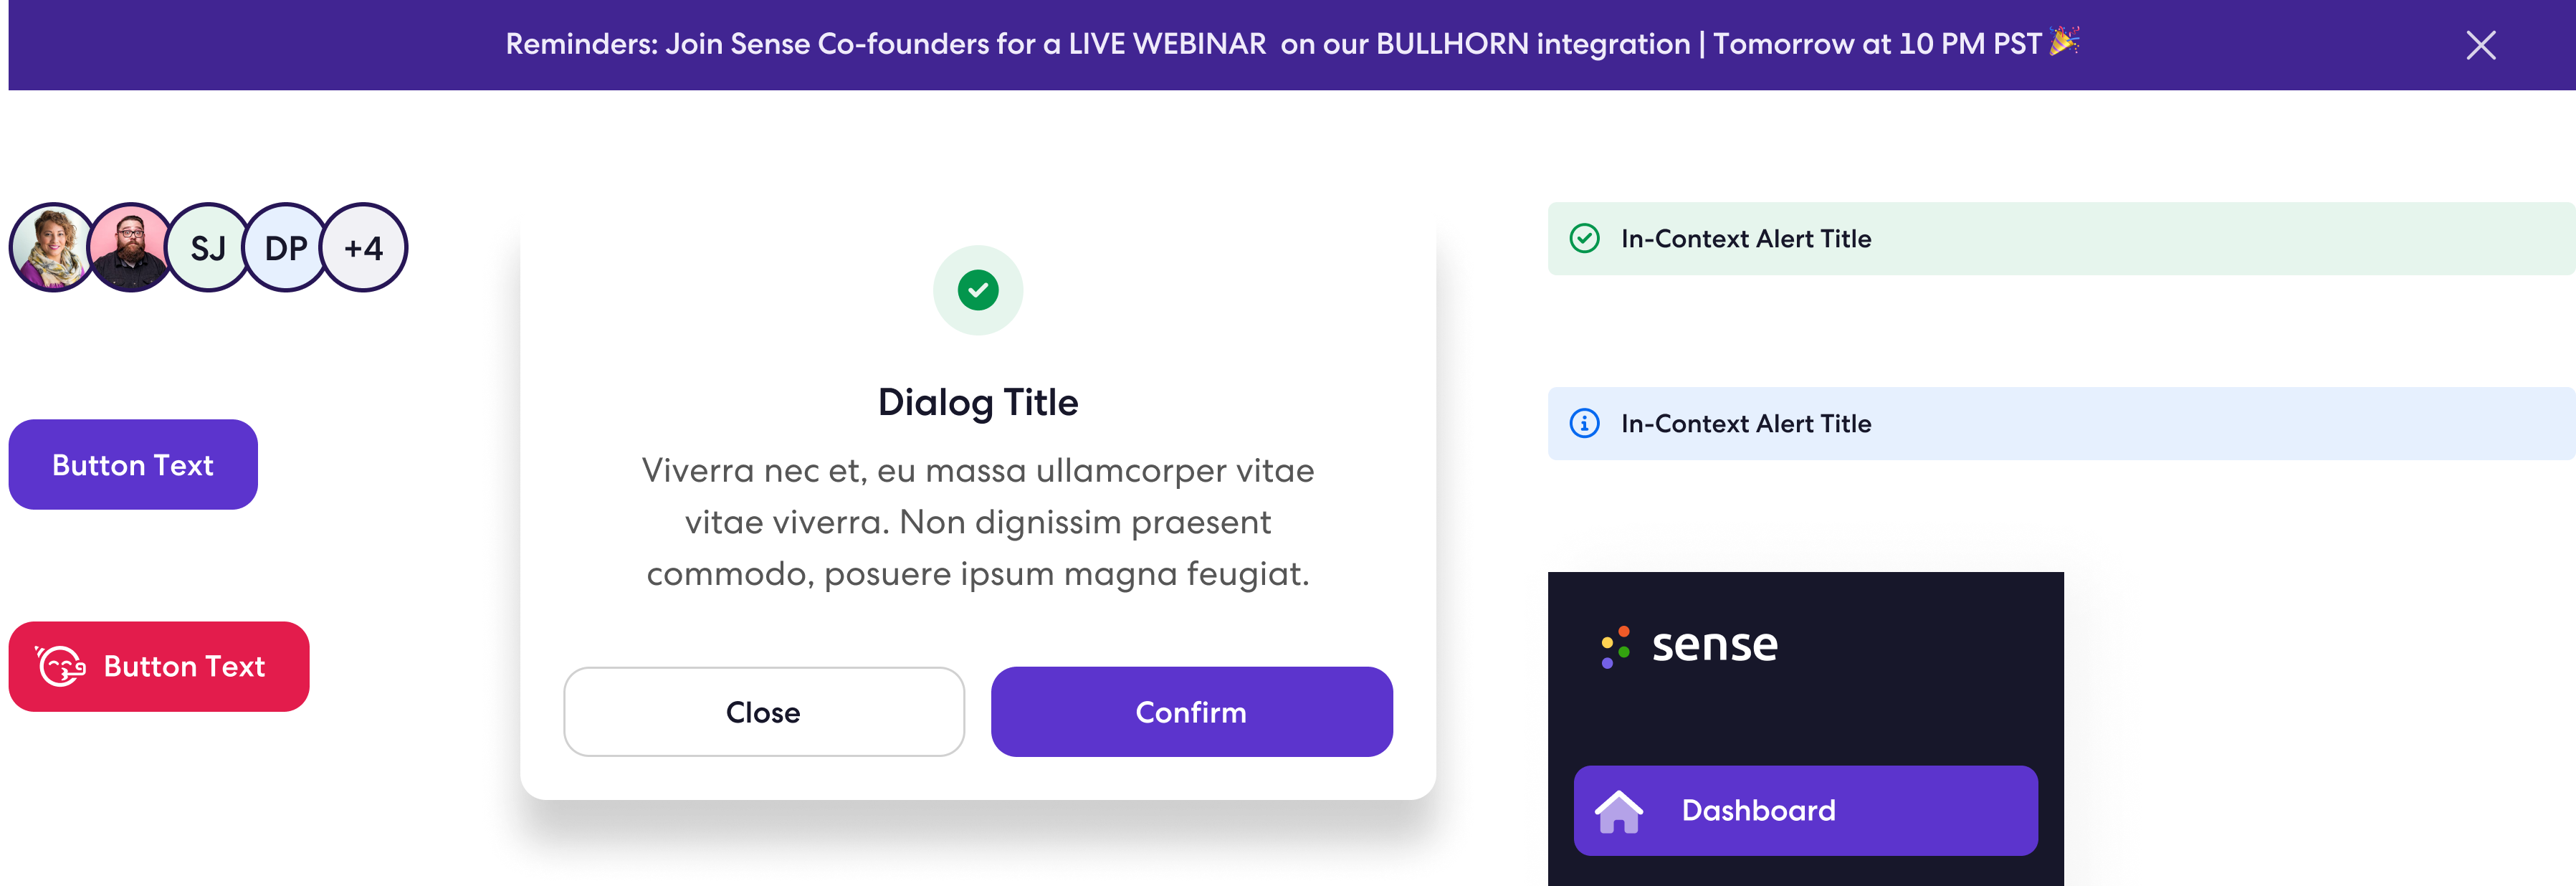
Sense UI components library
236 lines (158 loc) • 7.25 kB
Markdown

# Contribution Guidelines
- [Intro](#intro)
- [Development](#development)
- [Environment Setup](#environment-setup)
- [Generating New Component](#generating-new-component)
- [Generating New Hook](#generating-new-hook)
- [Exports](#exports)
- [Imports](#imports)
- [Adding Stories](#adding-stories)
- [Using Design Tokens](#using-design-tokens)
- [Testing Genesis Design System Locally](#testing-genesis-design-system-locally)
- [Troubleshooting local development](#troubleshooting-local-development)
- [Commits](#commits)
- [Add yourself to the contributor list ✨](#add-yourself-to-the-contributor-list)
## Intro
Genesis Design System is created using:
- [Gulp](https://gulpjs.com/)
- [CSS Modules](https://github.com/css-modules/css-modules)
- [React](https://reactjs.org/)
It also features:
- [Style-Dictionary](https://www.style-dictionary-play.dev/) to help you create and style variables
- [Storybook](https://storybook.js.org/) to help you create and show off your components
- [Standard Version](https://github.com/conventional-changelog/standard-version) to manage changelog across releases
## Development
Follow the below mentioned steps to setup a dev environment locally:
### Environment Setup
- We develop locally against a domain called `proxysense.co`. You should add a record for `genesis.proxysense.co` to
your `/etc/hosts` file. (You probably shouldn't delete anything.)
```bash
127.0.0.1 genesis.proxysense.co
```
- Clone the repository on Github.
- Run the environment locally:
```bash
#clone repository
git clone git@github.com:Spaced-Out/ui-design-system.git
#change directory to the cloned repository
cd ui-design-system
#create new branch
git checkout -b [BRANCH_NAME]
#install dependencies
yarn install
#start development server
yarn storybook
```
> The `storybook` server runs on port **6006** this `http://genesis.proxysense.co:6006` is opened automatically on successful dev build.
### Generating New Component
We've included a handy NodeJS util file under `scripts` called `create-component.js`. Instead of copy pasting components to create a new component,
you can instead run this command to generate all the files you need to start building out a new component. This also has a story boilerplate to help you kickstart component dev testing. To use it:
```bash
yarn generate YourComponentName
```
> This will generate:
```bash
/src
/components
/YourComponentName
YourComponentName.jsx
YourComponentName.stories.jsx
YourComponentName.module.css
YourComponentName.stories.module.css
index.js
```
For nested components (like charts), use the following format:
```bash
yarn generate ParentFolder/YourComponentName
```
This will generate:
```bash
/src
/components
/ParentFolderName
/YourComponentName
YourComponentName.jsx
YourComponentName.stories.jsx
YourComponentName.module.css
YourComponentName.stories.module.css
index.js
```
> The default templates for each file can be modified under `scripts/templates`.
> This script also appends YourComponentName exports in **`src/components/index.js`**.
> After component creation your component story would be visible at `/?path=/docs/components-yourcomponentname`.
### Generating New Hook
There is also a handy NodeJS util file under `scripts` called `create-hook.js`. This generates a new hook that you need and appends exports in the `index.js`. To use it:
```bash
yarn generateHook yourHook
```
> This will generate:
```bash
/src
/hooks
yourHook.js
```
> This script also appends YourComponentName exports in **`src/hooks/index.js`**.
### Exports
Each component folder should have an index.js which exports all required component(s) | types.
Export hook | style | util | type as named export and add these exports to the index.js of respective folder root.
**Note:** Make sure you have all your exports listed in `src/index.js`. Consumers use this as an entry point to do all imports.
### Imports
We use a third party plugin to sort out imports. We use
[eslint-plugin-simple-import-sort](https://github.com/lydell/eslint-plugin-simple-import-sort#sort-order)
### Adding Stories
A [story](https://storybook.js.org/docs/react/get-started/whats-a-story) captures the rendered state of a UI component. You can write multiple stories
per component. A component story must have `.stories.jsx` extension.
### Using Design Tokens
Check out our [**Design Tokens Page**](https://spaced-out.github.io/ui-design-system/?path=/docs/design-tokens--docs) to use tokens.
### Testing Genesis Design System Locally
> In the `ui_design_system` directory's run:
```bash
yarn build
```
> In the `consumer's` directory's run:
```bash
yarn add @spaced-out/ui-design-system@file:../ui-design-system
```
> This would copy the genesis design system package to node modules locally and create an entry in the `consumer's` package.json
```bash
...
"dependencies": {
...
"@spaced-out/ui-design-system": "file:../ui_design_system",
...
},
...
```
which will install the local genesis design system library as a dependency in `consumer`.
For every change in `ui_design_system` that you want to propagate to `consumer` run:
> in `ui_design_system`
```bash
yarn build
```
> in `consumer`
```bash
yarn upgrade @spaced-out/ui-design-system@file:../ui-design-system
```
## Troubleshooting local development
- Because we are using react hooks and having react as a peerDependency - if you want to develop locally and encounter issues with "invalid hook call" [See this github thread](https://github.com/facebook/react/issues/13991). The quick fix is in your webpack config file alias react to resolve the node_modules path
## Commits
Each commit should follow [Conventional Commits](https://www.conventionalcommits.org/en/v1.0.0/) guidelines
Most commonly used commit prefixes:
> `fix:` a commit of the type fix patches a bug in your codebase (this correlates with [PATCH](https://semver.org/#summary) in Semantic Versioning)
> `feat:` a commit of the type feat introduces a new feature to the codebase (this correlates with [MINOR](https://semver.org/#summary) in Semantic Versioning)
> `refactor:` Commits, that rewrite/restructure your code, however does not change any behavior
> `style:` Commits, that do not affect the meaning (white-space, formatting, missing semi-colons, etc)
> `docs:` Commits, that affect documentation only
> `build:` Commits, that affect build components like build tool, ci pipeline, dependencies, project version, etc.
## Add yourself to the contributor list
To add yourself to the `contributors` table in the README and INTRODUCTION stories:
> Run the following commands from the root of the repo:
```sh
./node_modules/.bin/all-contributors add <username> <contribution>
```
> Then, you'll need to generate the updated `all-contributors` table by running
```sh
./node_modules/.bin/all-contributors generate
```