@rbuljan/gamepad
Version:
Multi-touch gamepad with buttons and joystick for JavaScript games, apps, IOT
317 lines (247 loc) • 12.6 kB
Markdown
# Gamepad
Your virtual multi-touch Gamepad with **buttons** and **joystick** for JavaScript / Typescript games, apps and IOT!
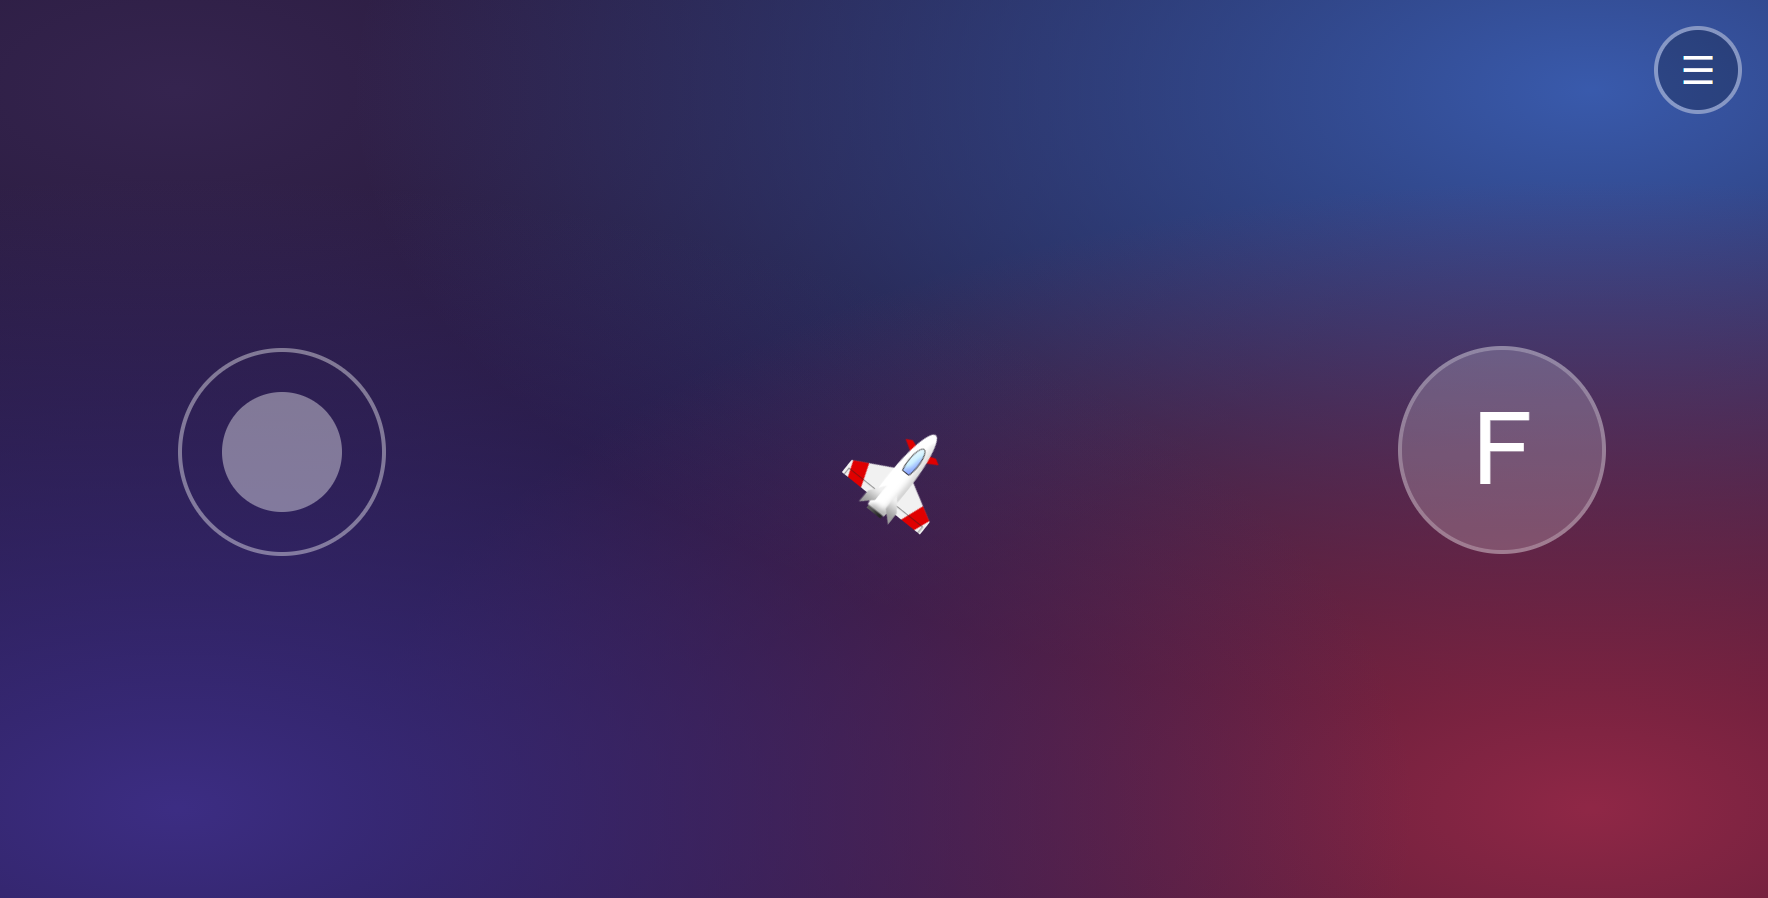
## Getting Started
The `Gamepad` instance is a handy wrapper for all your `Joystick` and `Button` Controllers.
Although `Gamepad` is optional (you can use the exposed `Joystick` and `Button` Controllers as standalone) it comes of great use when building an app where you need to often change your different Gamepads. Take for example: Game-Menu vs. In-Game, or an app that has multiple games where each requires a different Gamepad.
Both Joystick and Button Controllers are fixed and static on their anchor points defined by the `position` property, but can be set to `fixed: false` and will reposition on touch.
The Joystick, even if left fixed, its parent Element will act as the touch-start pivot.
(This option might change in a future release)
## Install
Using NPM (types are included):
```sh
npm install /gamepad
```
## Usage
### Gamepad Instance with controllers
```js
import { Gamepad } from "@rbuljan/gamepad";
const GP = new Gamepad([
new Joystick({
id: "controller-move", // MANDATORY!
parentElement: document.querySelector("#app-left"), // Where to append the controller
fixed: false, // Change position on touch-start
position: {
// Initial position on inside parent
left: "15%",
top: "50%",
},
onInput(state) {
// Triggered on angle or value change.
// // If you update your Player position and angle continuously inside a
// // requestAnimationFrame you're good to go with i.e:
// Player.controller.value = state.value;
// Player.controller.angle = state.angle;
//
// // otherwise use here something like:
// Player.move(state.value, state.angle);
// to update your player position when the Controller triggers onInput
},
}),
new Button({
id: "controller-fire", // MANDATORY!
parentElement: document.querySelector("#app-right"),
position: {
// Anchor point position
right: "15%",
bottom: "50%",
},
onInput(state) {
// Triggered on value change.
// // If value is 1 - Player should fire!
// if (!state.value) return;
// Player.fire();
//
GP.vibrate([100]); // Vibrate the Gamepad for 100ms
// // You can also use a pattern with pauses of 30ms:
// GP.vibrate([200, 30, 100, 30, 200])
},
}),
]);
// Retrieve all your Controllers instances
console.log(GP.controllers); // {"controller-move: Joystick{}, "controller-fire": Button{}}
```
## Standalone Controllers
`Joystick` and `Button` Controllers can be also used as **standalone** (without the Gamepad _wrapper_)
```js
import { Joystick, Button } from "@rbuljan/gamepad";
const ControllerPanorama = new Joystick({
id: "joystick-panorama",
parentElement: document.querySelector("#app"),
axis: "x",
spring: false, // Don't reset (center) joystick on touch-end
onInput(state) {
// App.panorama.rotateX(state.value);
},
});
const ControllerMenu = new Button({
id: "button-menu",
parentElement: document.querySelector("#app"),
spring: false, // Act as a checkbox
text: "☰",
radius: 20,
position: {
left: "50%",
top: "35px",
},
style: {
color: "#fff",
background: "rgba(0,0,0,0.2)",
},
onInput(state) {
// App.menu.toggle(state.isActive);
},
});
```
Initialize your controllers manually:
```js
ControllerMenu.init();
ControllerPanorama.init();
// When needed destroy your controllers:
// ControllerMenu.destroy()
// ControllerPanorama.destroy();
```
or rather - add them to an existing **Gamepad instance** to initialize them automatically:
```js
// ... instead of using .init() ...
import { Gamepad } from "@rbuljan/gamepad";
const GP = new Gamepad();
GP.add(ControllerPanorama, ControllerMenu);
// When needed destroy all controllers at once:
// GP.destroy()
```
## CSS: Active state
To add _active_ state styles, use CSS like:
```css
.Gamepad-controller.is-active {
box-shadow: 0 0 50px currentColor;
}
```
## Gamepad
**Syntax:**
```js
new Gamepad();
new Gamepad( [Controller, ...] );
```
Accepts an argument Array of either controllerOptions or Controller instances
It automatically creates and initializes (`init()`) its Controllers.
### Gamepad Methods
| Method | Arguments | Description |
| -------------------------------- | ------------------------------------- | ------------------------------------------------------- |
| `add(Controller,...)` | Controller | Add and initialize controllers |
| `remove(string\|Controller,...)` | controllerId or Controller | Remove (and destroy) specific Controllers |
| `destroy(id?)` | (Optional) controllerId or Controller | Destroy all associated Controller instances |
| `requestFullScreen()` | | Invoke FullScreen API<br>on first touch |
| `exitFullScreen()` | | Revoke FullScreen API |
| `isVibrationSupported()` | | Returns Boolean, `true` is Navigator supports vibration |
| `vibrate(number[])` | i.e: `[200]` or `[200,30,100,30,200]` | _ms_ vibration time Array of vibrate and pause pattern |
Gamepad Methods are chainable, i.e: `.vibrate(400).destroy().exitFullScreen()`
## Controller (_Joystick, Button_)
**Standalone syntax**
```js
new Joystick({ controllerOptions });
new Button({ controllerOptions });
```
### controllerOptions
| Property | Type | Value | Description |
| ------------------------- | ---------- | ---------------------------------------------- | ----------------------------------------------------------- |
| `id` **MANDATORY** | String | | Unique ID name (Mandatory) |
| `type` | String | `"joystick"`(Default)<br>`"button"` | Type of controller (Not necessary in standalone) |
| `axis` | String | `"all"`(Default)<br>`"x"`<br>`"y"` | Movement axis constraint (Joystick) |
| `fixed` | Boolean | `true` | Set to `false` to change position on touch-start |
| `parentElement` | String | `an HTMLElement` | Parent to insert into |
| `position` | CSS Object | `{top: "50%", left: "50%"}` | Controller initial position inside parent |
| `radius` | Number | `50` | Controller radius in _px_ |
| `spring` | boolean | `true` | Set to `false` to keep state and values on touch-end/cancel |
| `style` | CSS Object | `{}` | Custom CSS styles |
| `text` | String | `""` | Button text or inner HTML |
| `onInput(state)` | Function | `contains the current state of the controller` | Callback on touch-start/move/end/cancel |
### Controller Methods
| Method | Description |
| ----------- | --------------------------------------- |
| `init()` | Manually initialize Controller instance |
| `destroy()` | Destroy Controller instance |
**\*Notice:**
the `onInput(state)` will not be triggered on touch-end for controllers which property `spring` is set to `false`.
## Controller output values
Inside the `onInput(state)` method you can use the `state` to retrieve this various dynamic values.
Alternatively, you can also use your Gamepad instance controllers like i.e: `const throttleVal = GP.controllers.throttle.value` (where `throttle` is the Controller ID you set when registering your controllers `{throttle: {...controllerOptions}}`)
| Property | Type | Description |
| --------------- | ------- | ---------------------------------------------- |
| `value` | Number | `0.0` - `1.0` (Joystick)<br> `0`, `1` (Button) |
| `angle` | Number | Normalized Angle in radians (Joystick) |
| `isPress` | Boolean | `true` on touch-start |
| `isDrag` | Boolean | `true` on touch-move (Joystick) |
| `isActive` | Boolean | `true` if has _"is-active"_ className |
| `x_start` | Number | _px_ Relative x touch-start coordinates |
| `y_start` | Number | _px_ Relative y touch-start coordinates |
| `x_drag` | Number | _px_ Relative x touch-move coordinates |
| `y_drag` | Number | _px_ Relative y touch-move coordinates |
| `x_diff` | Number | _px_ Difference x from start and move |
| `y_diff` | Number | _px_ Difference y from start and move |
| `distance_drag` | Number | _px_ Drag distance (capped to max radius) |
**PS:**
Inspect your desired Controller ID to get more useful properties and values.
To preview all your Controllers instances:
```js
const GP = new Gamepad([controllerOptions_move, controllerOptions_fire_1, ...]);
console.log(GP.controllers);
/*
Example output: an object with key-value pairs of all controllers.
{ id: Controller }
{
move: Joystick{},
fire_1: Button{},
fire_2: Button{},
settings: Button{}
}
*/
```
## UI Strategies
Controller's anchor points (`position`) are fixed by default. In such case you can set all your Controllers `parentElement` to the same DOM Element.
### Non-fixed controllers
Some apps, games, are best experienced with **non-fixed Controllers** `fixed: false`.
Non-fixed controllers can change the position on screen depending on where the touch-start Event landed.
In such case, to prevent your controllers to overlap each-other the best strategy is to insert them into different parent Elements:
```html
<div id="app">
<div id="app-touchArea-left"></div>
<div id="app-touchArea-right"></div>
</div>
```
```js
new Gamepad([
new Joystick({
id: "move",
parentElement: document.querySelector("#app-touchArea-left"),
fixed: false,
//...
}),
new Button({
id: "fire",
parentElement: document.querySelector("#app-touchArea-right"),
fixed: false,
//...
}),
]);
```
---
## Development and Example demo
```sh
npm i
# to run the "/example/index.html" and start developing
npm run dev
# To build the example
npm run build
```
Since **only touch events are supported**: open Dev tools, inspect, and set preview as _Mobile_
### Test example demo from handheld device
To test the example demo from a mobile device:
- Run `npm run dev`
- Set your Mobile device Settings Developer Mode ON, and turn ON **USB Debugging** mode
- In your computer find your IPv4 Address using `ipconfig` or `ifconfig` from terminal.
- Head to Chrome on your mobile to that address, i.e: <http://192.168.8.106:3000/>
- On your computer, open chrome://inspect/#devices and wait for your device and chrome tab to appear
- Hit: the button **inspect fallback**
## Licence
[MIT](LICENSE)