@jupyterlite/terminal
Version:
A terminal for JupyterLite
217 lines (161 loc) • 7.23 kB
Markdown
# JupyterLite Terminal
[](https://github.com/jupyterlite/terminal/actions/workflows/build.yml)
[](https://jupyterlite.github.io/terminal/)
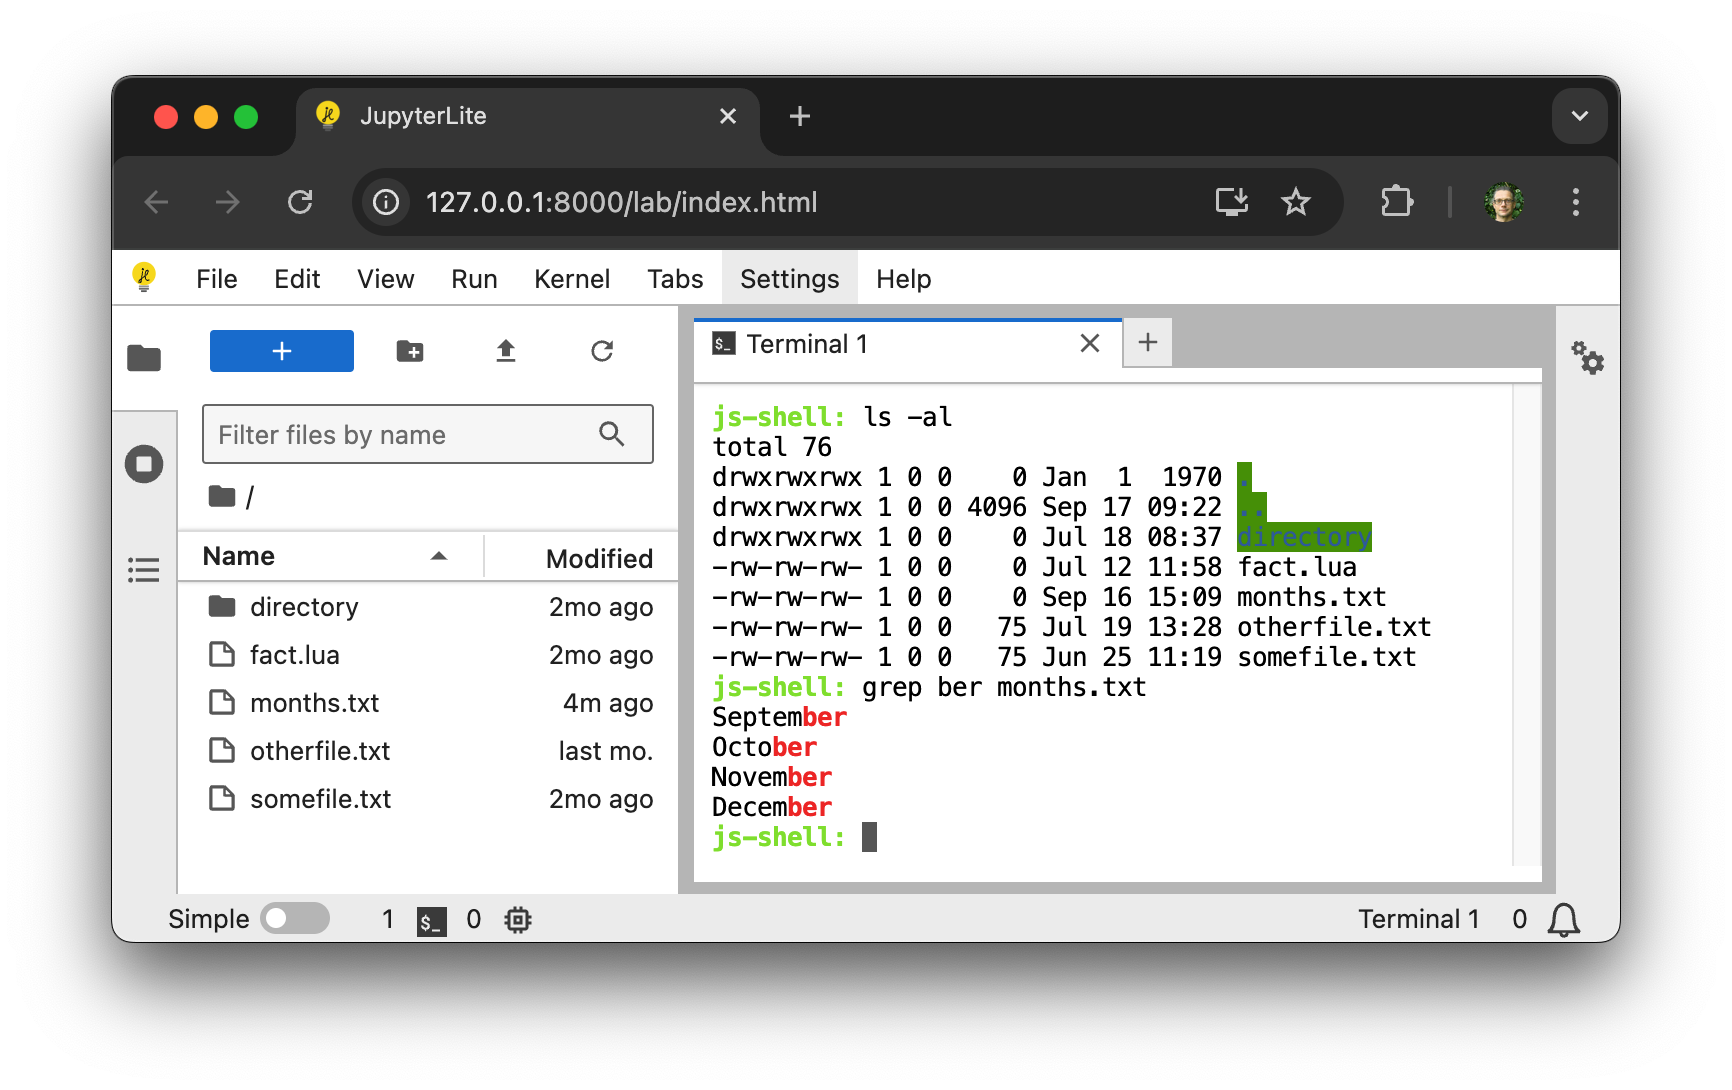
A terminal for JupyterLite.
## Requirements
- JupyterLite >= 0.7.0, < 0.9.0
## Install
To install the extension, execute:
```bash
pip install jupyterlite-terminal
```
You will also need to install the JupyterLite CLI:
```bash
python -m pip install jupyterlite-core
```
## Usage
After installing `jupyterlite-core` and `jupyterlite-terminal`, create a `jupyter-lite.json` file with the following content to activate the terminal extension:
```json
{
"jupyter-lite-schema-version": 0,
"jupyter-config-data": {
"terminalsAvailable": true
}
}
```
Then build a new JupyterLite site:
```bash
jupyter lite build
```
## Running commands programmatically
Besides the interactive terminal, the extension registers JupyterLab commands that
run commands in a _headless_ `cockle` shell: one that captures the output and exit
code without opening a terminal widget. These are useful for other extensions or
automation that need to run shell commands in JupyterLite.
| Command | Description |
| -------------------------------------- | ------------------------------------------------- |
| `@jupyterlite/terminal:execute-shell` | Run a command and return its output and exit code |
| `@jupyterlite/terminal:start-shell` | Start a reusable headless shell |
| `@jupyterlite/terminal:shutdown-shell` | Shut down a headless shell by name |
| `@jupyterlite/terminal:list-shells` | List the running headless shells |
Run a single command (a throwaway shell is created and disposed automatically):
```ts
const result = await app.commands.execute('@jupyterlite/terminal:execute-shell', {
code: 'echo hello'
});
console.log(result.exitCode); // 0
console.log(result.output); // hello
```
Pass a `shellName` to reuse a shell across calls so state such as the working
directory persists:
```ts
const { shellName } = await app.commands.execute('@jupyterlite/terminal:start-shell');
await app.commands.execute('@jupyterlite/terminal:execute-shell', {
code: 'cd /drive',
shellName
});
const result = await app.commands.execute('@jupyterlite/terminal:execute-shell', {
code: 'pwd',
shellName
});
console.log(result.output); // /drive
```
Each command runs as a single `cockle` pipeline, so `|`, `;` and redirections
(`>`, `>>`, `2>`, `<`) work, but `&&`/`||`, command substitution and `$VAR`
expansion are not supported.
## Version compatibility
Each `jupyterlite-terminal` release is built against a specific version of `cockle`. If you need to
include imports from both `jupyterlite-terminal` and `cockle`, such as if you are implementing
`cockle` external commands, you should ensure that you are using the correct version combination.
| `jupyterlite-terminal` | `cockle` | `jupyterlite-core` | Release date |
| ---------------------- | -------- | --------------------------------- | ------------ |
| 1.6.1 | 1.7.0 | >= 0.7, < 0.9, != 0.7.4, != 0.7.5 | 2026-08-05 |
| 1.6.0 | 1.7.0 | >= 0.7, < 0.9, != 0.7.4, != 0.7.5 | 2026-07-17 |
| 1.5.1 | 1.6.0 | >= 0.7, < 0.9, != 0.7.4, != 0.7.5 | 2026-06-25 |
| 1.5.0 | 1.6.0 | >= 0.7, < 0.9, != 0.7.4, != 0.7.5 | 2026-06-24 |
| 1.4.1 | 1.5.1 | >= 0.7, < 0.8, != 0.7.4, != 0.7.5 | 2026-05-14 |
| 1.4.0 | 1.5.0 | >= 0.7, < 0.8, != 0.7.4, != 0.7.5 | 2026-05-06 |
| 1.3.1 | 1.4.1 | >= 0.7, < 0.8, != 0.7.4 | 2026-03-25 |
| 1.3.0 | 1.4.0 | >= 0.7, < 0.8 | 2026-03-02 |
| 1.2.0 | 1.3.0 | >= 0.7, < 0.8 | 2025-12-03 |
| 1.1.0 | 1.2.0 | >= 0.6, < 0.8 | 2025-10-27 |
| 1.0.1 | 1.0.0 | >= 0.6, < 0.8 | 2025-09-03 |
| 1.0.0 | 1.0.0 | >= 0.6, < 0.7 | 2025-08-11 |
| 0.2.2 | 0.1.3 | >= 0.6, < 0.7 | 2025-06-27 |
## Contributing
### Development install
Note: You will need NodeJS to build the extension package.
The `jlpm` command is JupyterLab's pinned version of
[yarn](https://yarnpkg.com/) that is installed with JupyterLab. You may use
`yarn` or `npm` in lieu of `jlpm` below.
```bash
# Clone the repo to your local environment
# Change directory to the jupyterlite_terminal directory
# Install package in development mode
pip install -e "."
# Link your development version of the extension with JupyterLab
jupyter labextension develop . --overwrite
# Rebuild extension Typescript source after making changes
jlpm build
```
You can watch the source directory and run JupyterLab at the same time in different terminals to watch for changes in the extension's source and automatically rebuild the extension.
```bash
# Watch the source directory in one terminal, automatically rebuilding when needed
jlpm watch
# Run JupyterLab in another terminal
jupyter lab
```
### Development deployment
To build a JupyterLite distribution with the extension installed:
```bash
cd deploy
jupyter lite build --contents contents
```
And serve it either using:
```bash
npx static-handler _output/
```
or:
```bash
jupyter lite serve
```
To enable use of SharedArrayBuffer rather than ServiceWorker for `stdin` and to access the shared
filesytem you will have to configure your server to add the `Cross-Origin-Embedder-Policy` and
`Cross-Origin-Opener-Policy` headers. Do this using either:
```bash
npx static-handler --coi _output/
```
or:
```bash
jupyter lite serve --LiteBuildConfig.extra_http_headers=Cross-Origin-Embedder-Policy=require-corp --LiteBuildConfig.extra_http_headers=Cross-Origin-Opener-Policy=same-origin
```
To `git2cpp clone` remote repositories you will need to run a local CORS proxy. The easiest way to
do this is to use the one from the `ui-tests`. In a separate operating system terminal run:
```bash
cd ui-tests
jlpm
jlpm serve:cors-proxy
```
and then in the JupyterLite terminal in your browser set the `GIT_CORS_PROXY` environment variable
and try a `git2cpp clone`:
```bash
export GIT_CORS_PROXY=http://localhost:8881/
git clone https://github.com/jupyterlite/terminal
```
### Building the documentation
The project documentation includes a demo deployment, and is built on every PR so that the changes can be checked manually before merging. To build the documentation and demo locally use:
```bash
micromamba create -f docs/environment-docs.yml
micromamba activate terminal-docs
pip install -v .
cd docs
make html
```
To serve this locally use:
```bash
cd _build/html
python -m http.server
```
### Packaging the extension
See [RELEASE](RELEASE.md)