@bull-board/nestjs
Version:
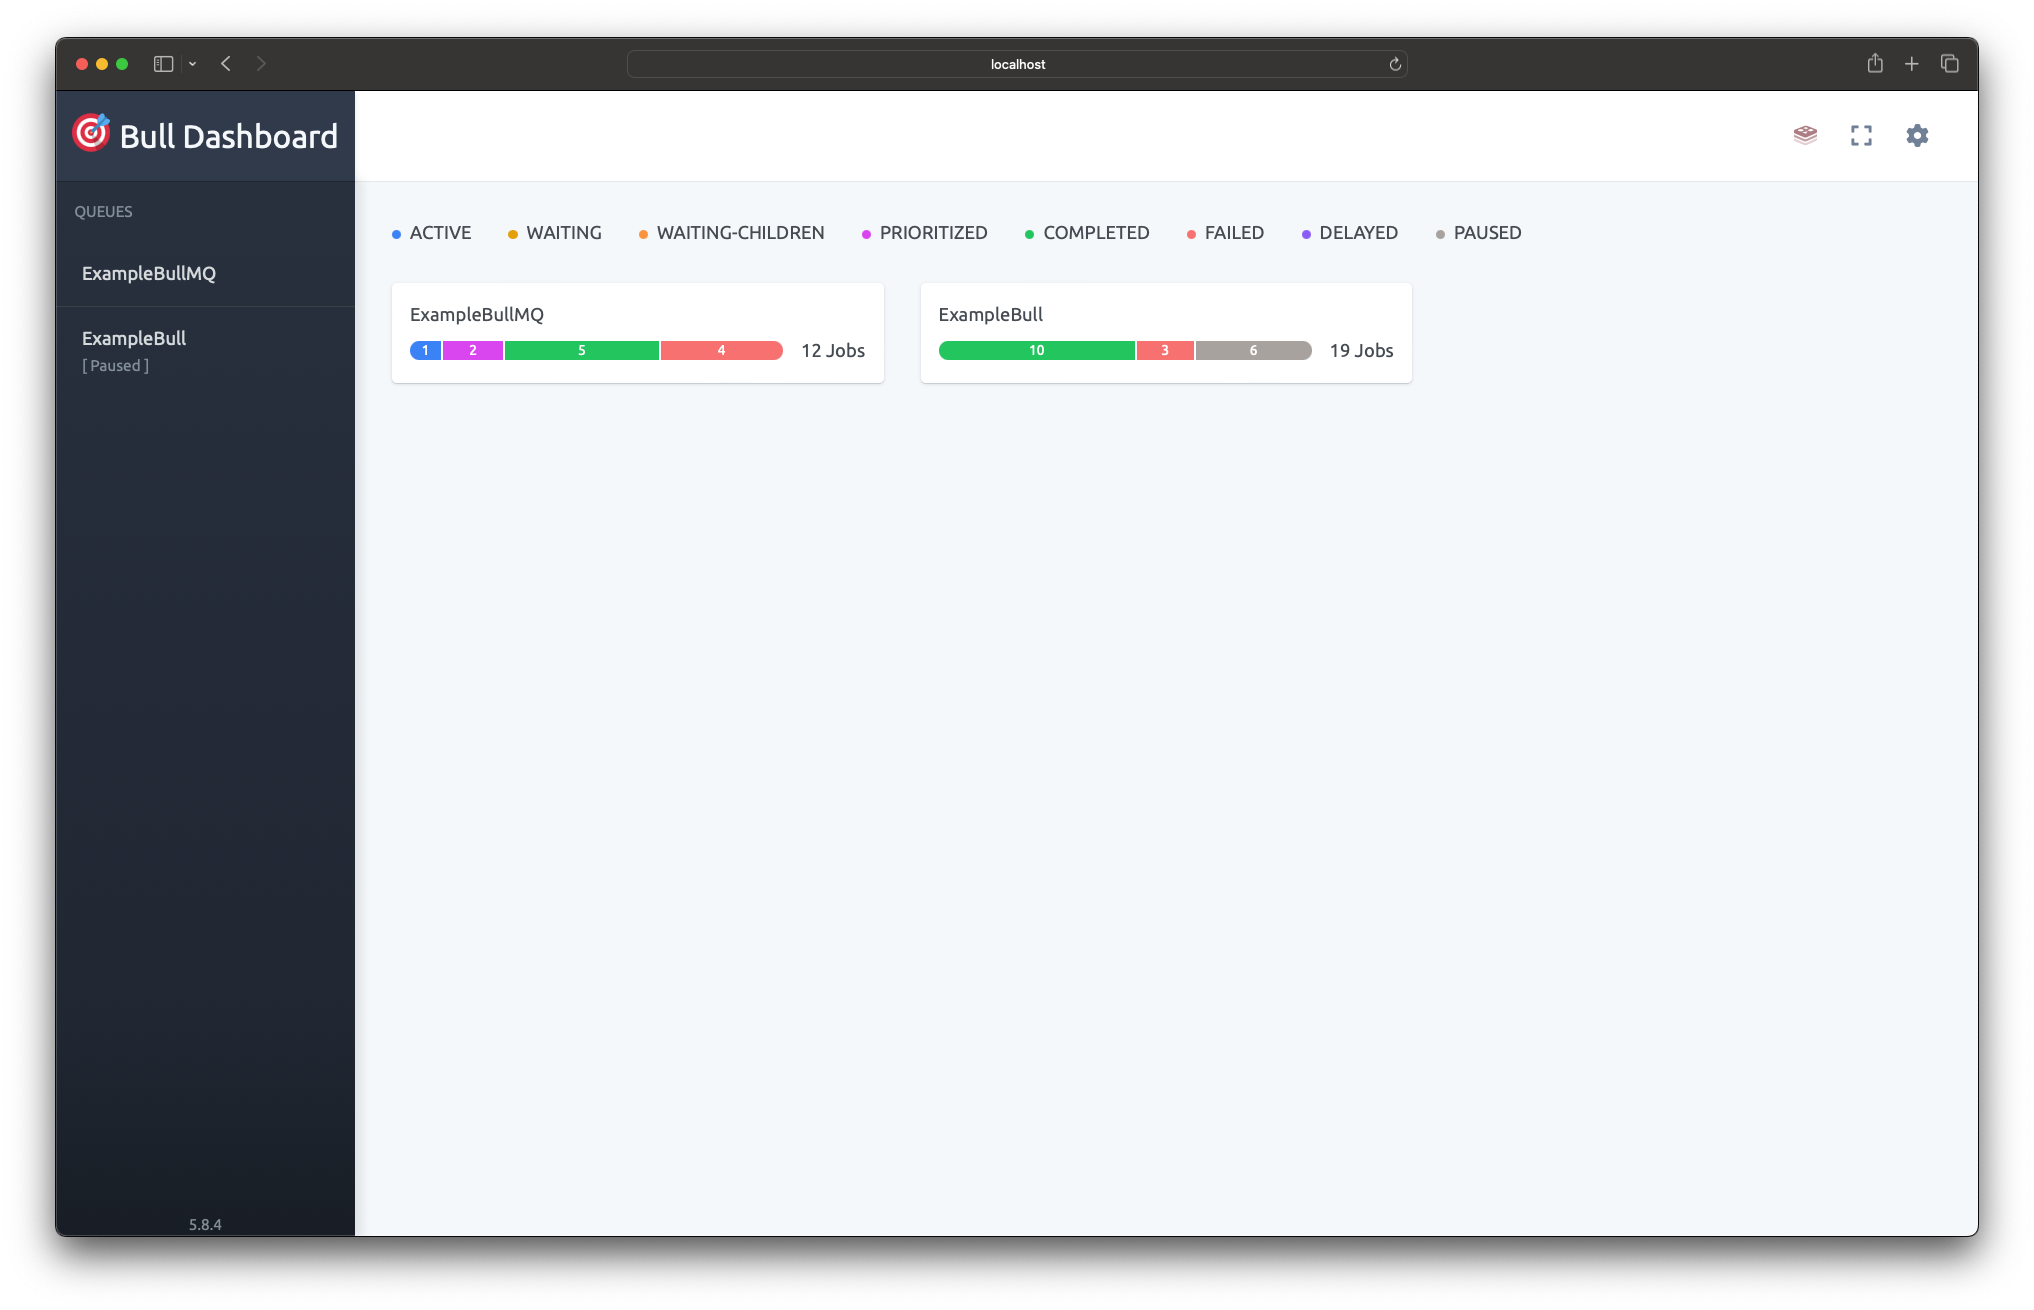
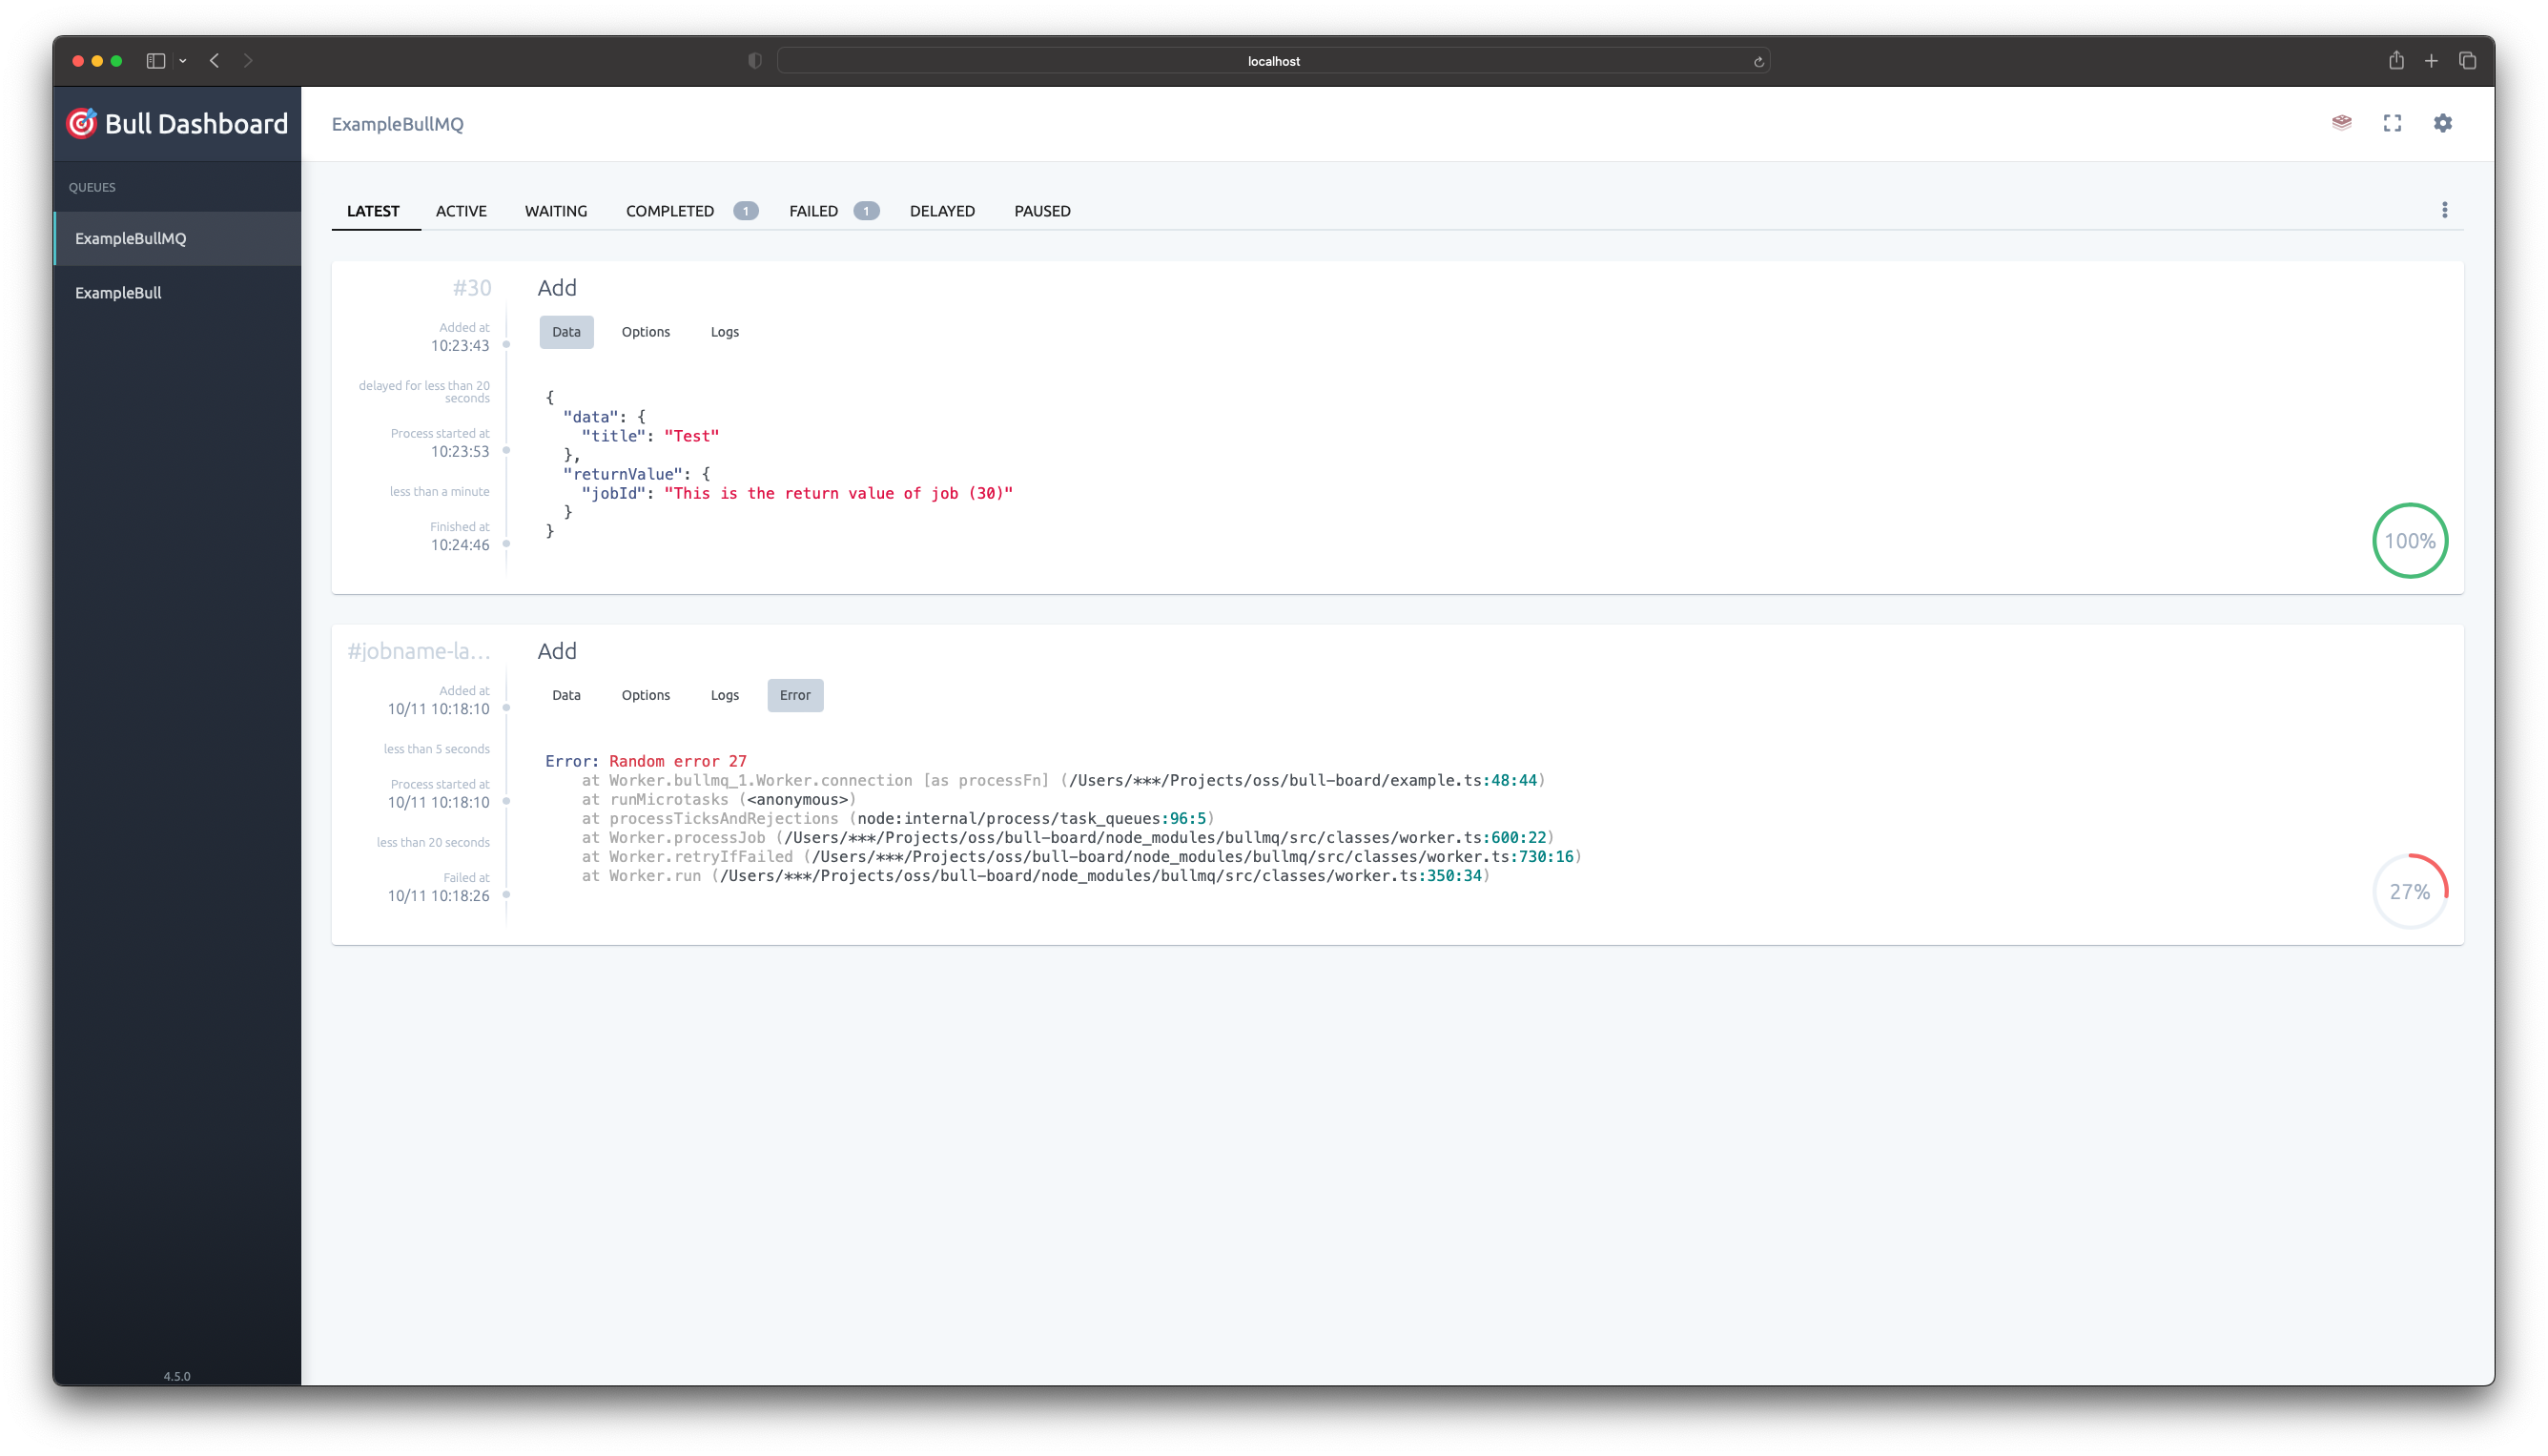
A NestJS module for Bull-Board dashboard.
121 lines (97 loc) • 4.1 kB
Markdown
# <img alt="@bull-board" src="https://raw.githubusercontent.com/felixmosh/bull-board/master/packages/ui/src/static/images/logo.svg" width="35px" /> @bull-board/nestjs
[NestJS](https://nestjs.com/) for `bull-board`.
<p align="center">
<a href="https://www.npmjs.com/package/@bull-board/nestjs">
<img alt="npm version" src="https://img.shields.io/npm/v/@bull-board/nestjs">
</a>
<a href="https://www.npmjs.com/package/bull-board">
<img alt="npm downloads" src="https://img.shields.io/npm/dw/bull-board">
</a>
<a href="https://github.com/vcapretz/bull-board/blob/master/LICENSE">
<img alt="licence" src="https://img.shields.io/github/license/vcapretz/bull-board">
</a>
<p>
## Installation
Install both -board/api and this module.
```bash
$ npm install --save -board/nestjs @bull-board/api
```
Install the Express or Fastify adapter depending on what you use in NestJS (default is Express)
```bash
$ npm install --save -board/express
//or
$ npm install --save -board/fastify
```
## Register the root module
Once the installation is completed, we can import the `BullBoardModule` into your rootmodule e.g. `AppModule`.
```typescript
import { Module } from '/common';
import { BullBoardModule } from "@bull-board/nestjs";
import { ExpressAdapter } from "@bull-board/express";
({
imports: [
BullModule.forRoot({
// your bull module config here.
}),
BullBoardModule.forRoot({
route: '/queues',
adapter: ExpressAdapter // Or FastifyAdapter from `@bull-board/fastify`
}),
],
})
export class AppModule {
}
```
The `forRoot()` method registers the bull-board instance and allows you to pass several options to both the instance and module.
The following options are available.
- `route` the base route for the bull-board instance adapter.
- `adapter` The routing adapter to be used, either the Express Adapter or Fastify Adapter provided by bull-board.
- `boardOptions` options as provided by the bull-board package, such as `uiBasePath` and `uiConfig`
- `middleware` optional middleware for the express adapter (e.g. basic authentication)
## Register your queues
To register a new queue, you need to register `BullBoardModule.forFeature` in the same module as where your queues are registered.
```typescript
import { Module } from '/common';
import { BullBoardModule } from "@bull-board/nestjs";
import { BullMQAdapter } from "@bull-board/api/bullMQAdapter";
import { BullModule } from "@nestjs/bullmq";
({
imports: [
BullModule.registerQueue(
{
name: 'my_awesome_queue'
}
),
BullBoardModule.forFeature({
name: 'my_awesome_queue',
adapter: BullMQAdapter, //or use BullAdapter if you're using bull instead of bullMQ
}),
],
})
export class FeatureModule {}
```
The `forFeature` method registers the given queues to the bull-board instance.
The following options are available.
- `name` the queue name to register
- `adapter` either `BullAdapter` or `BullMQAdapter` depending on which package you use.
- `options` queue adapter options as found in the bull-board package, such as `readOnlyMode`, `description` etc.
## Using the bull-board instance in your controllers and/or services.
The created bull-board instance is available via the `()` decorator.
For example in a controller:
```typescript
import { Controller, Get } from "@nestjs/common";
import { BullBoardInstance, InjectBullBoard } from "@bull-board/nestjs";
('my-feature')
export class FeatureController {
constructor(
() private readonly boardInstance: BullBoardInstance
) {
}
//controller methods
}
```
# Usage examples
1. [Simple NestJS setup](https://github.com/felixmosh/bull-board/tree/master/examples/with-nestjs)
For more info visit the main [README](https://github.com/felixmosh/bull-board#readme)